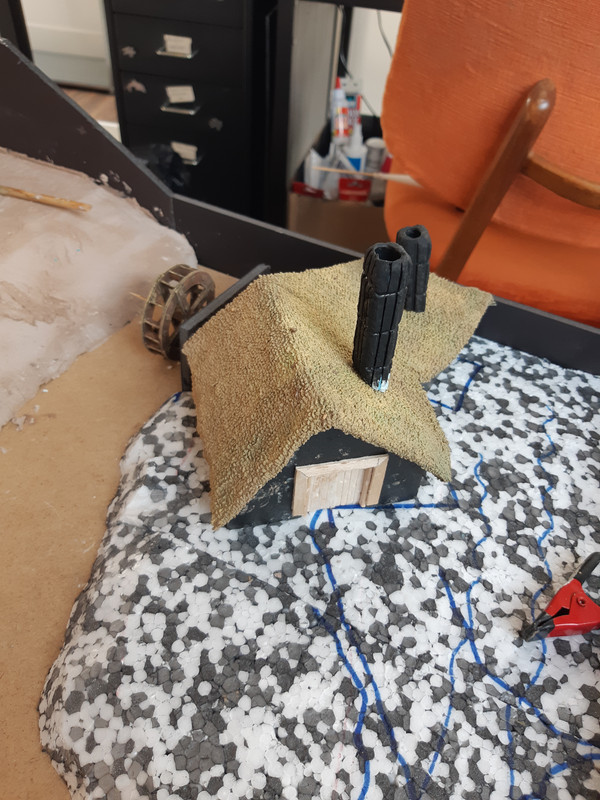
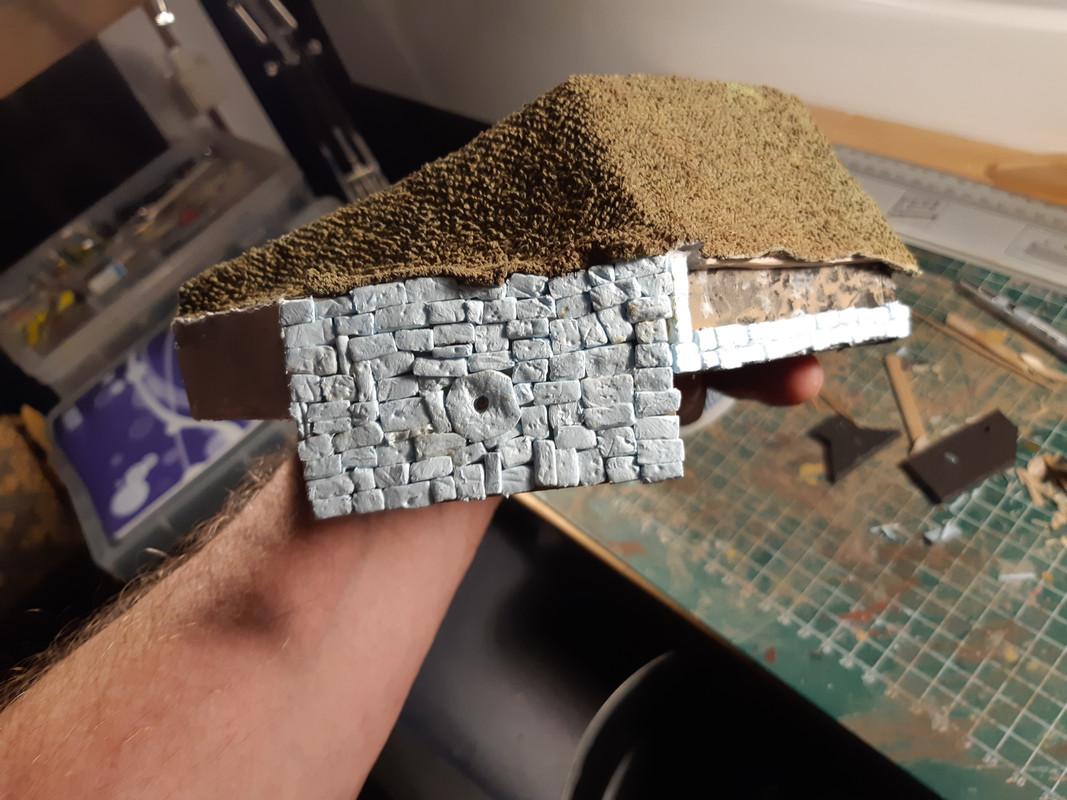
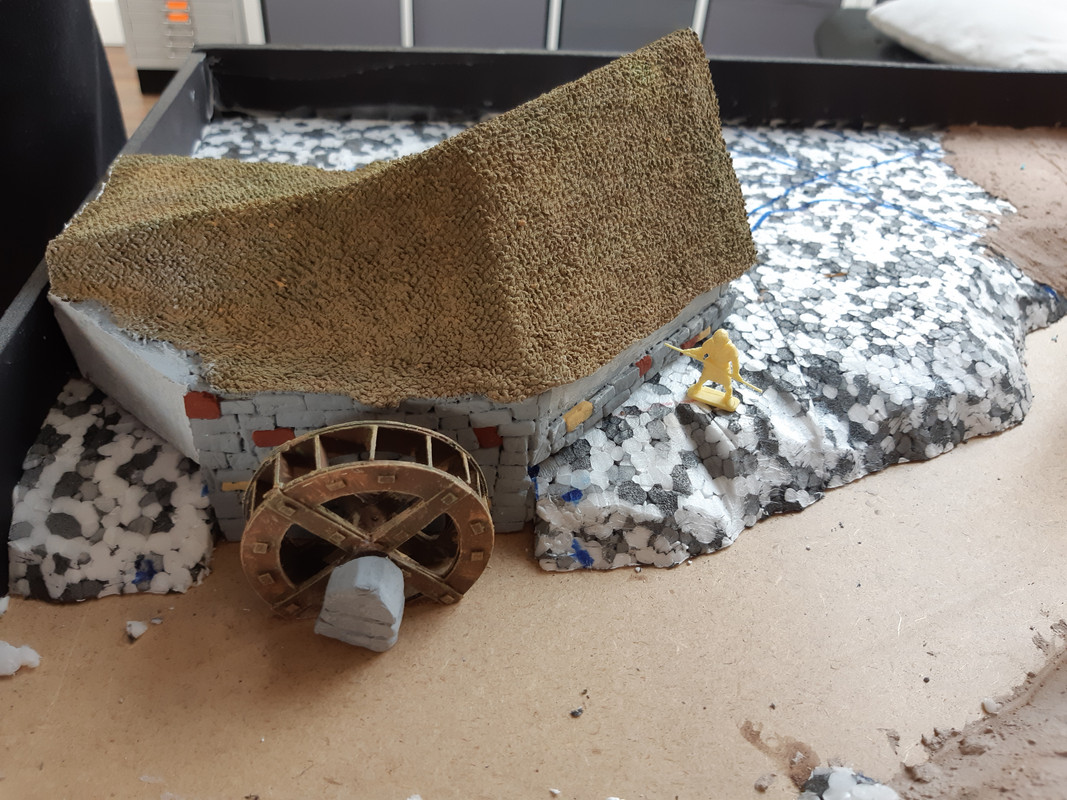
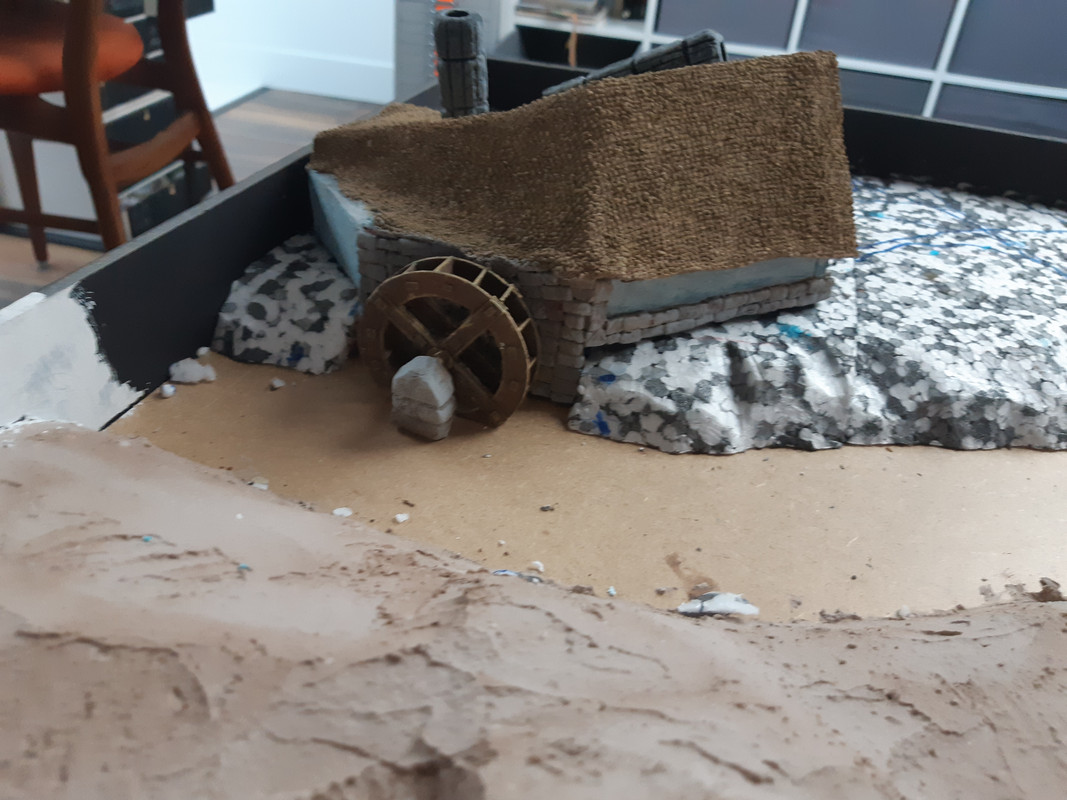
Here we go again
First a little lesson about the shire:
The Shire is described as a small but beautiful and fruitful land, beloved by its inhabitants. The Hobbits had an extensive agricultural system in the Shire, but did not proceed with industrialisation. Various supplies could be found in the Shire, including cereals, fruit, wood and pipe-weed (a favourite treat of Hobbits).
The Shire was quite densely populated in parts with many villages and a few towns, but it still was open enough to allow for wide forested areas and marshes. There were green, rolling hills and freshly tilled earth, along with gardens and flower boxes on window sills.
so... for those who have not yet fallen asleep during this lesson i will now continue with, tatatara tata :
Landscaping

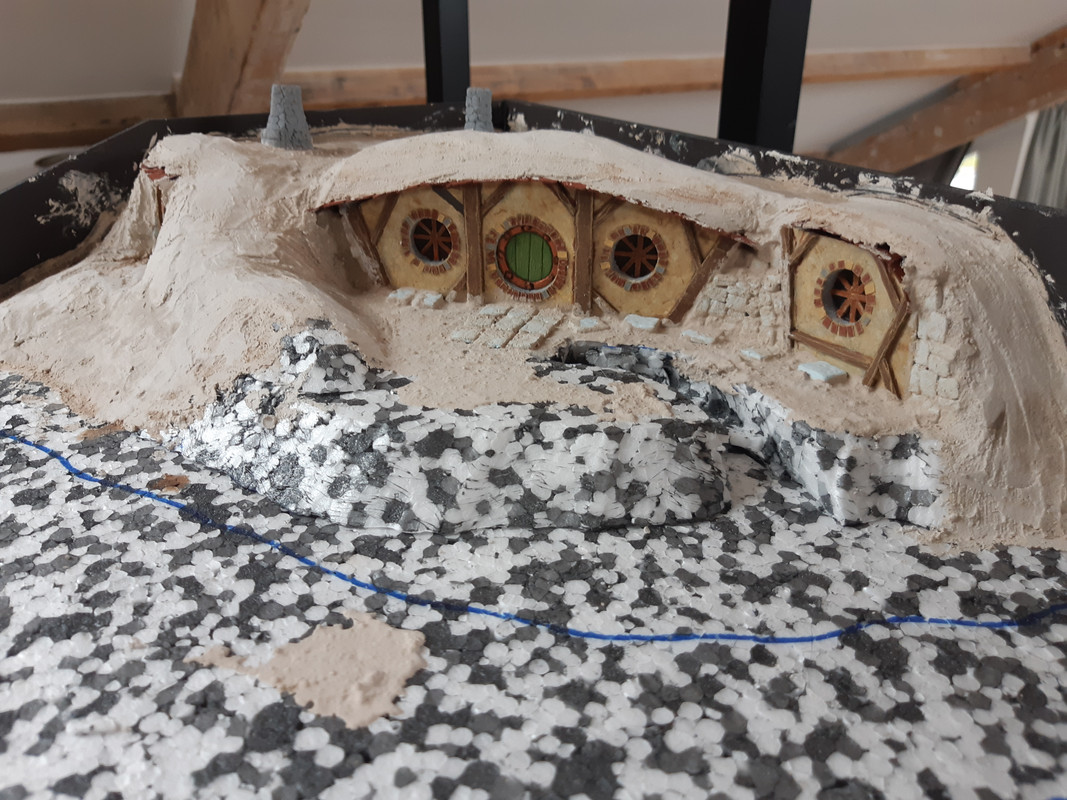
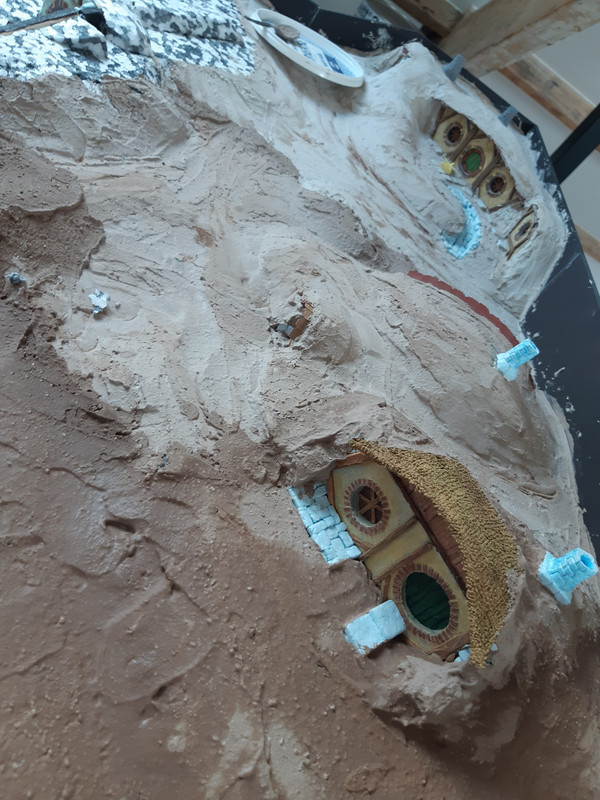
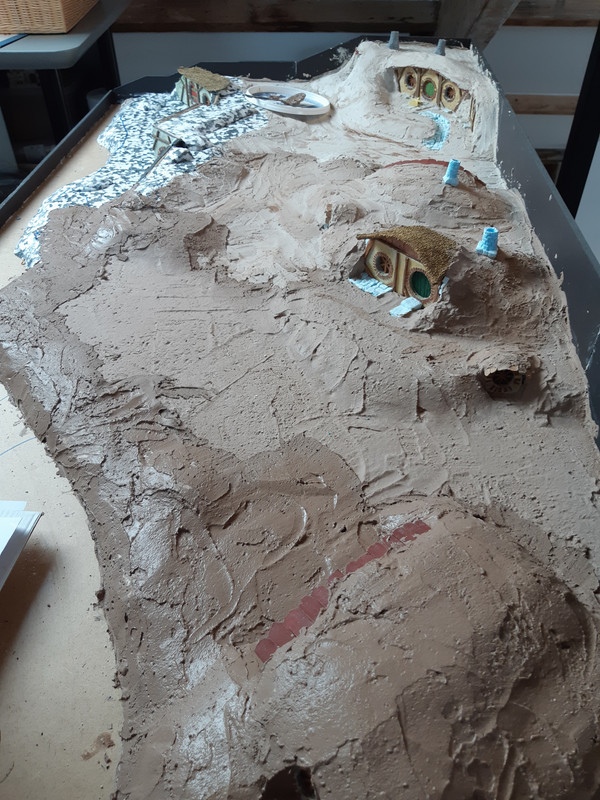
Now dont expect to much beause this is what i have done so far:
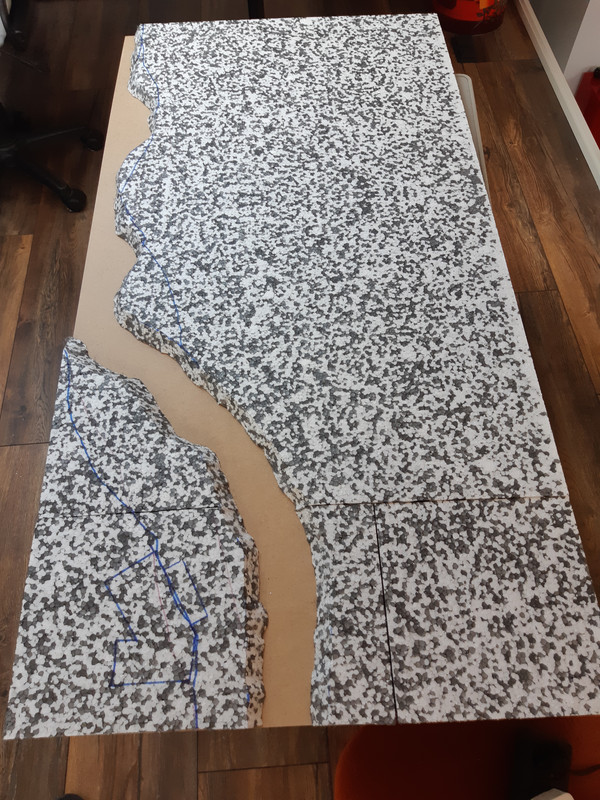
I first started with 3 plates of 2cm thick polystyreen(?) the cheap isolation material. And these i placed according to my plan just to get an impression of how it would look.

Next i made some templates for the roads and the small river and started playing around with that

Then i cut the plates and glued them on a plate of mdf. This plate is 61x122 cm. This is the biggest size i'm allowed by the "boss". Now i could have taken the risk and even make it bigger but then i think she would made me sleep on it
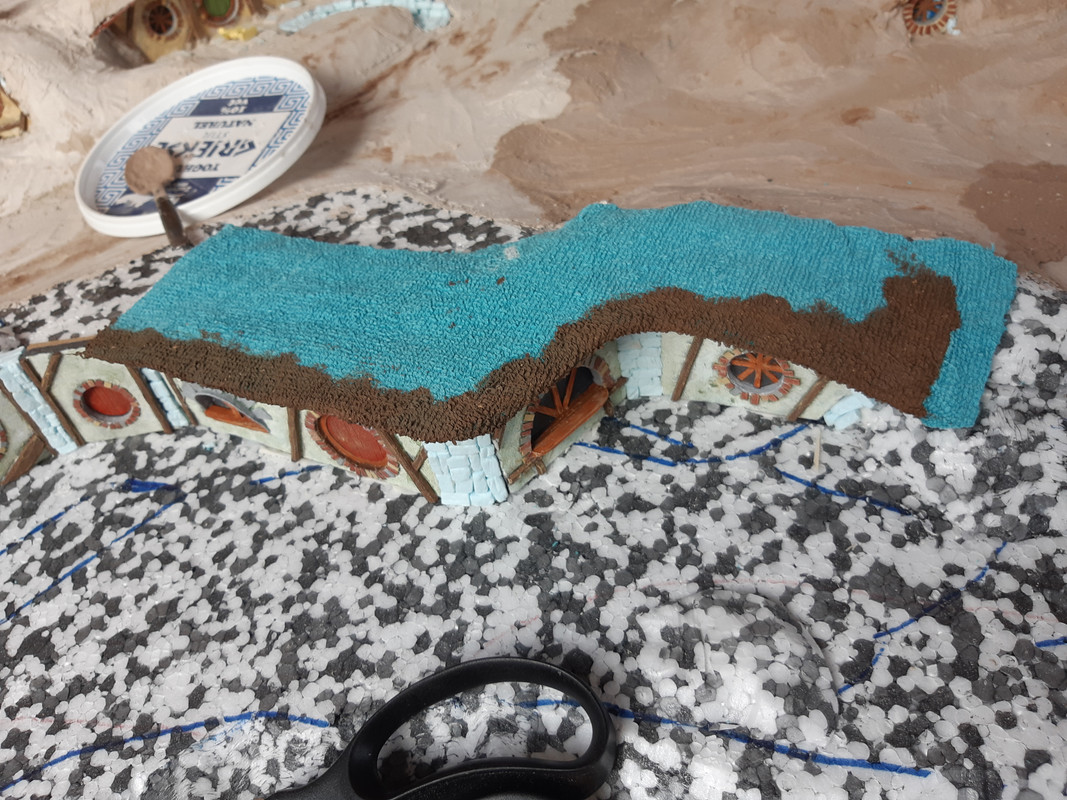
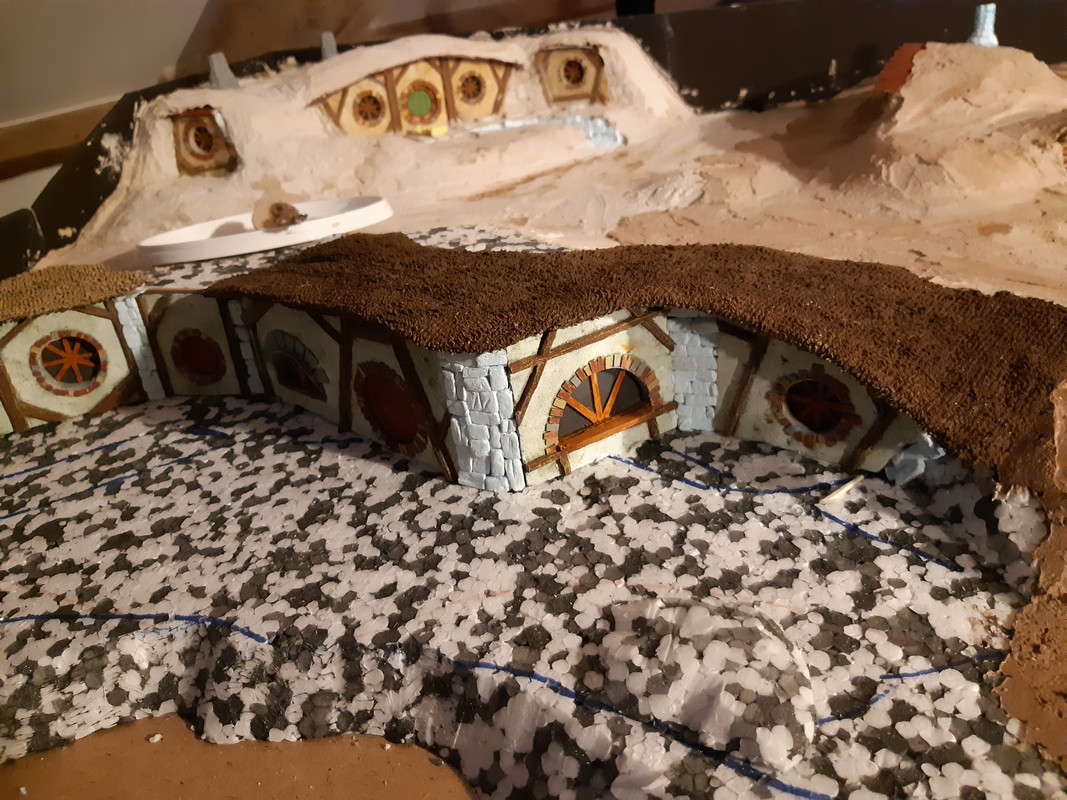
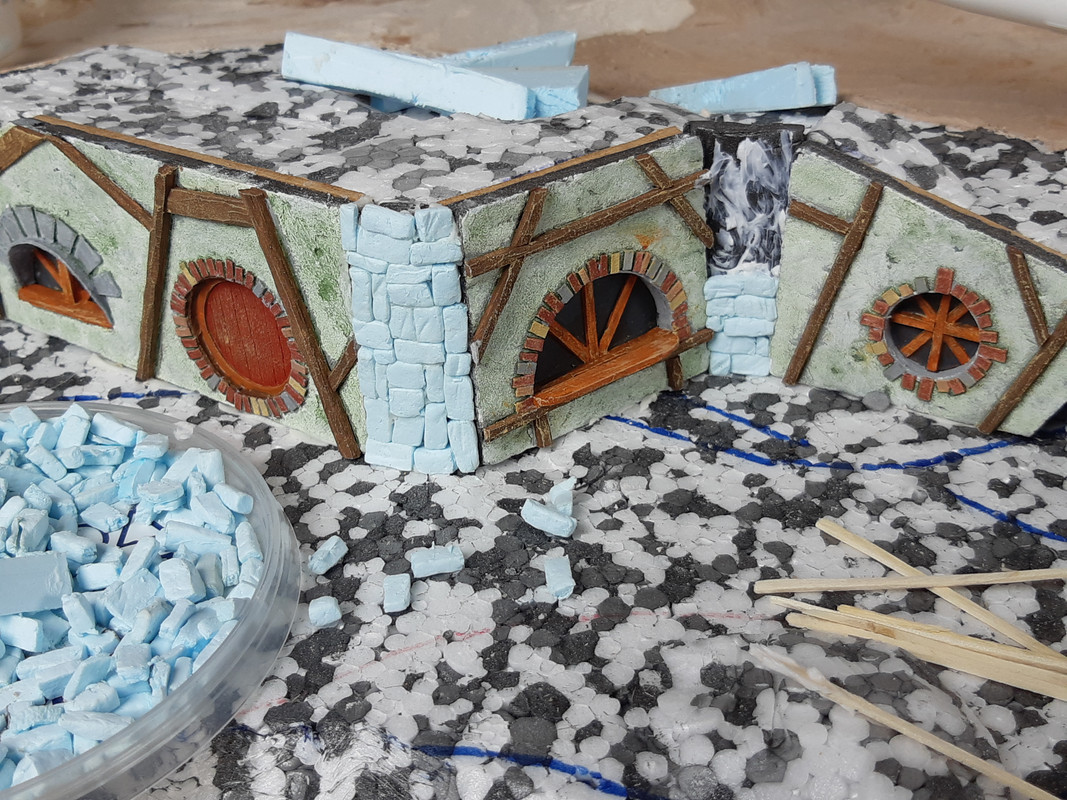
Then the front of the hobit holes came into the game. I played around with these and when i was ok with the place....
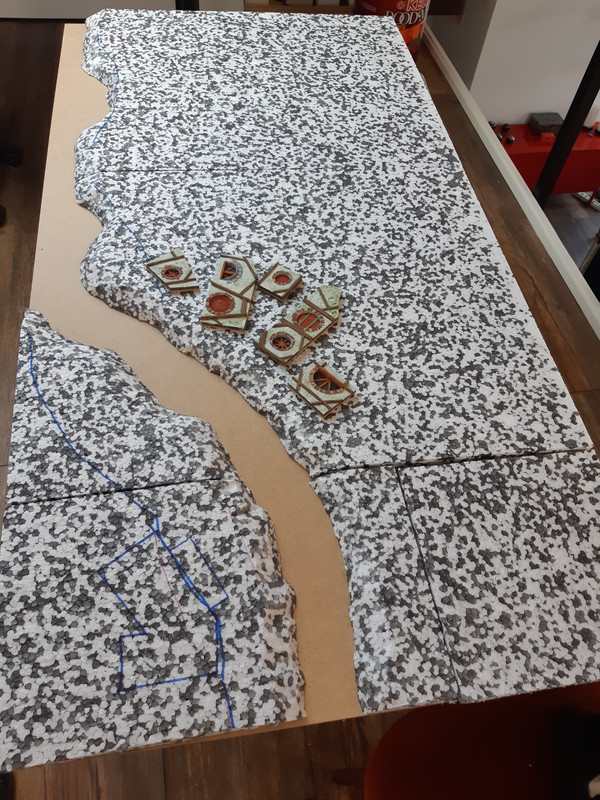
I buld up another layre of ploystereen to get some height

And put the hobbitholes in it.
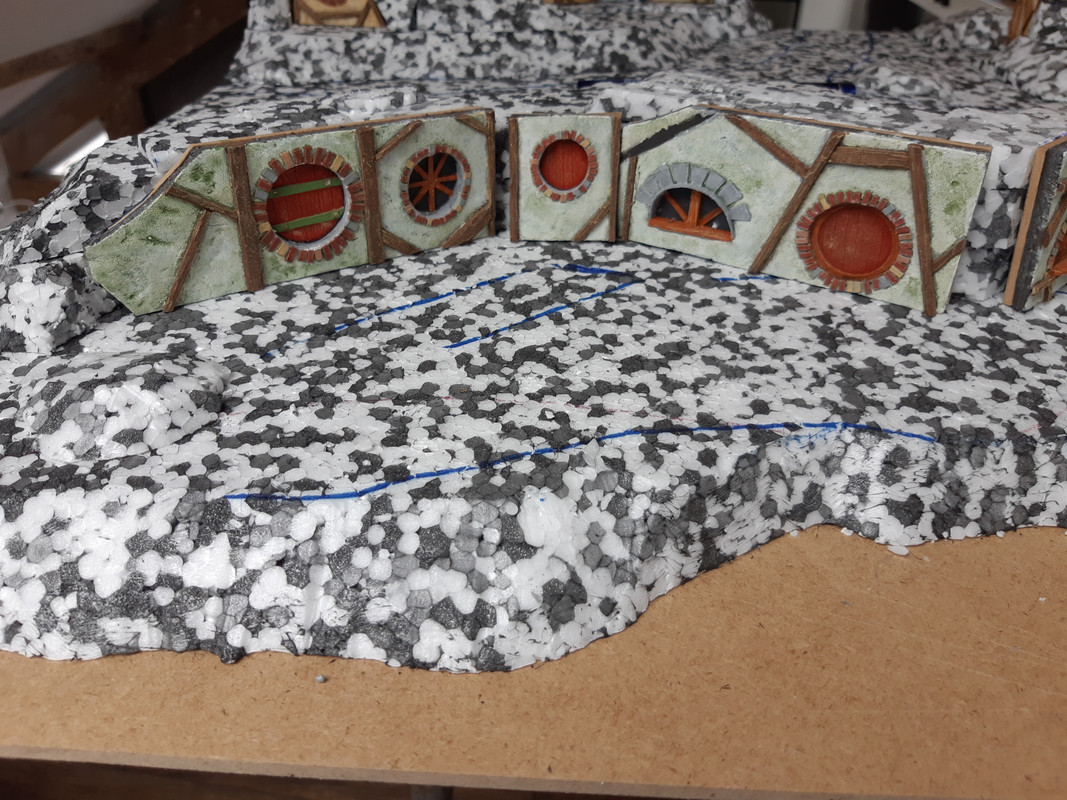
Thats it for now guys.
Laterrrrrrrrrrr


 Moderator
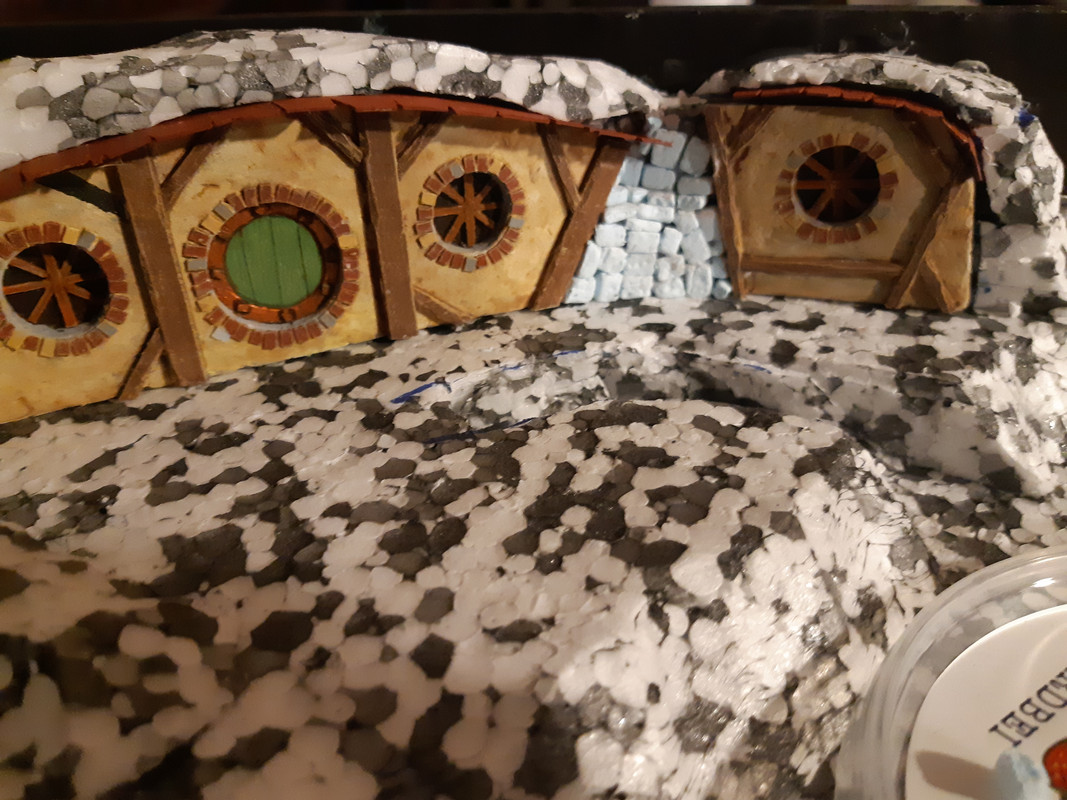




 Well done scratch builder.


