Work in Progress

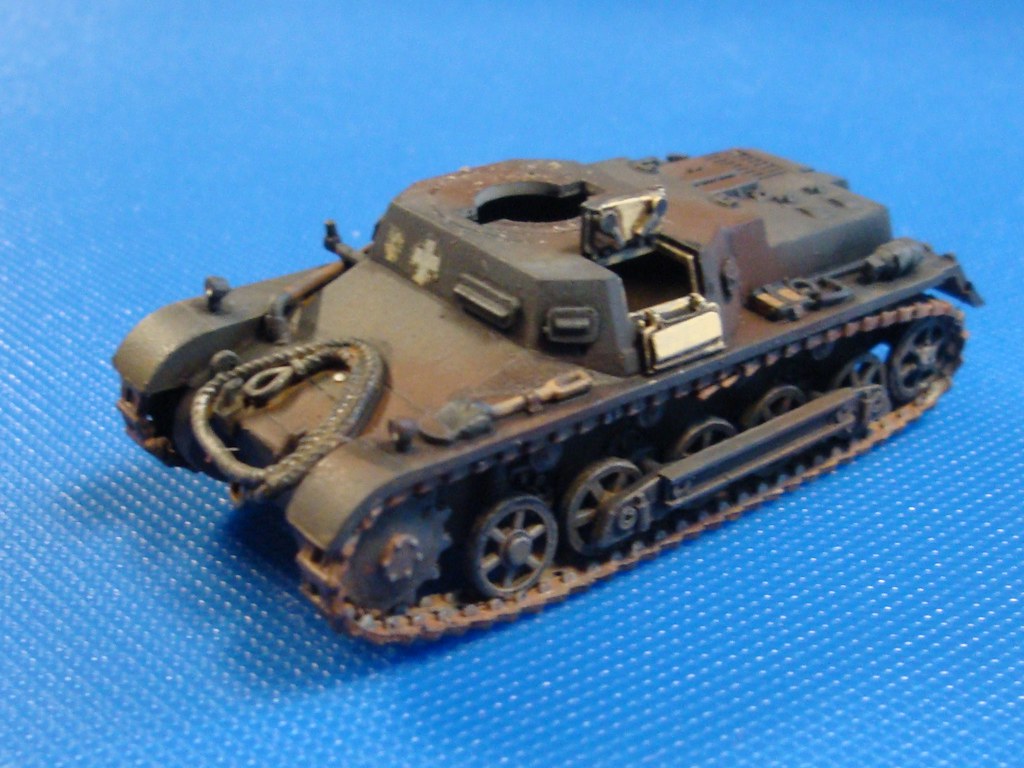
Esci 1/72 Panzer IB

Posted by huib on 06 May 2024, 14:52

With my next topic I remain in the early stages of WW2, building another old kit: The Esci PanzerKampfwagen I Ausf. B in 1/72.

Image
Panzer IA with four road wheels.

When Hitler broke with the Versailles treaty in 1934 and openly started rearmament, there was a big need for a tank so the German army could start training for mechanised warfare. Although several secret tank development projects were running for several years, no tank was ready for mass production. That is when the German army decided upon developing a small light tank for training and educational purposes only. The design was based on the British Carden Loyd tankette, lightly armoured, armed with two light machine guns and designated Panzerkampfwagen I. It became operational in 1934 and played an important role in the conceptual development and training of the german army in mechanized and combined arms warfare. However Hitlers warmongering developed faster than German tankproduction. When war broke out in September 1939 insufficient Panzer III and IV were available. As a result the Panzer I and II, never intended for real combat, were still present in large numbers in the front line units. With its light armament and light armour the Panzer I was no match for enemy armour. But in battle with infantry and soft targets it proved a useful and mobile vehicle. When Germany attacked the Soviet Union in June 1941, the Panzer I was mostly witdrawn from frontline units, but still proved useful as a protection vehicle, in anti-guerilla warfare, as a crew training vehicle and as a platform for the first tankhunters and mechanised field guns.

Image
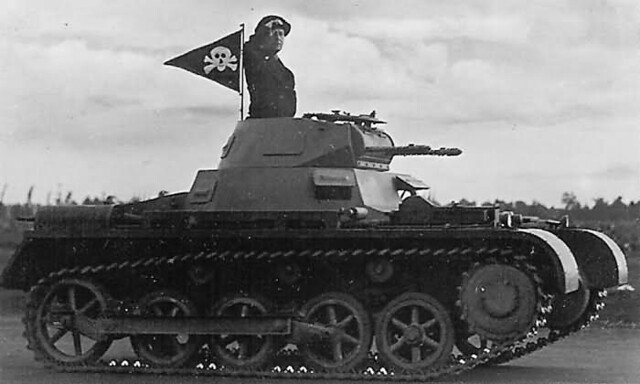
Panzer IB with five roadwheels.

The first type of Panzer I tanks appeared to have a stability problem at high speed, resulting in pitching and leading to accidents. Moreover the engine tended to overheat. As a result the design was adapted by lengthening the hull to accomodate a new engine and a fifth roadwheel, which solved both problems. The new design was called Panzer IB, retroactively designating the earlier version as the Panzer IA.
User avatar
huib  Netherlands
 
Posts: 1014
Member since:
12 Dec 2015, 15:57


Posted by huib on 06 May 2024, 14:54

Esci 1/72 Panzer IB

The Esci kit of the Panzer IB dates from 1976. For many years it was the only option available in this scale, although there was a 1/76 kit from Fujimi.

Image
My boxing is of 1984 issue, with a nice dramatic boxart depicting a Panzer IB during sunset in the Polish campaign of 1939.

Image
In the side opening box there are two sprues. A main sprue with the hull and running gear, which forms the base of several vehicles built on the Panzer I chassis, issued by Esci.

Image
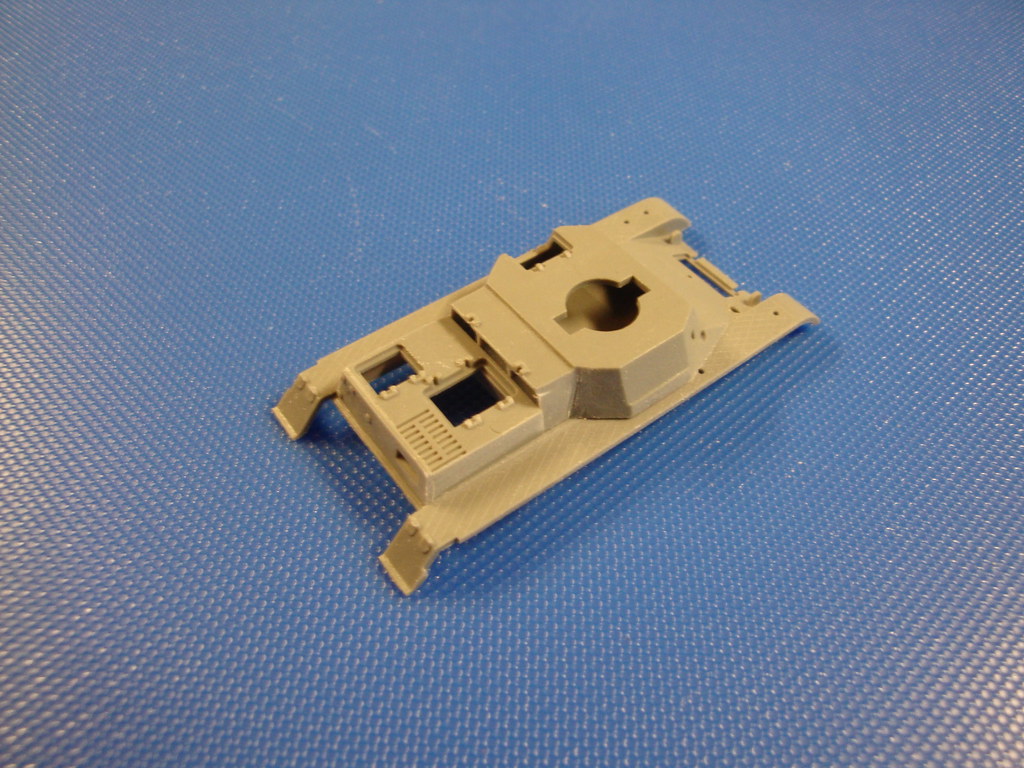
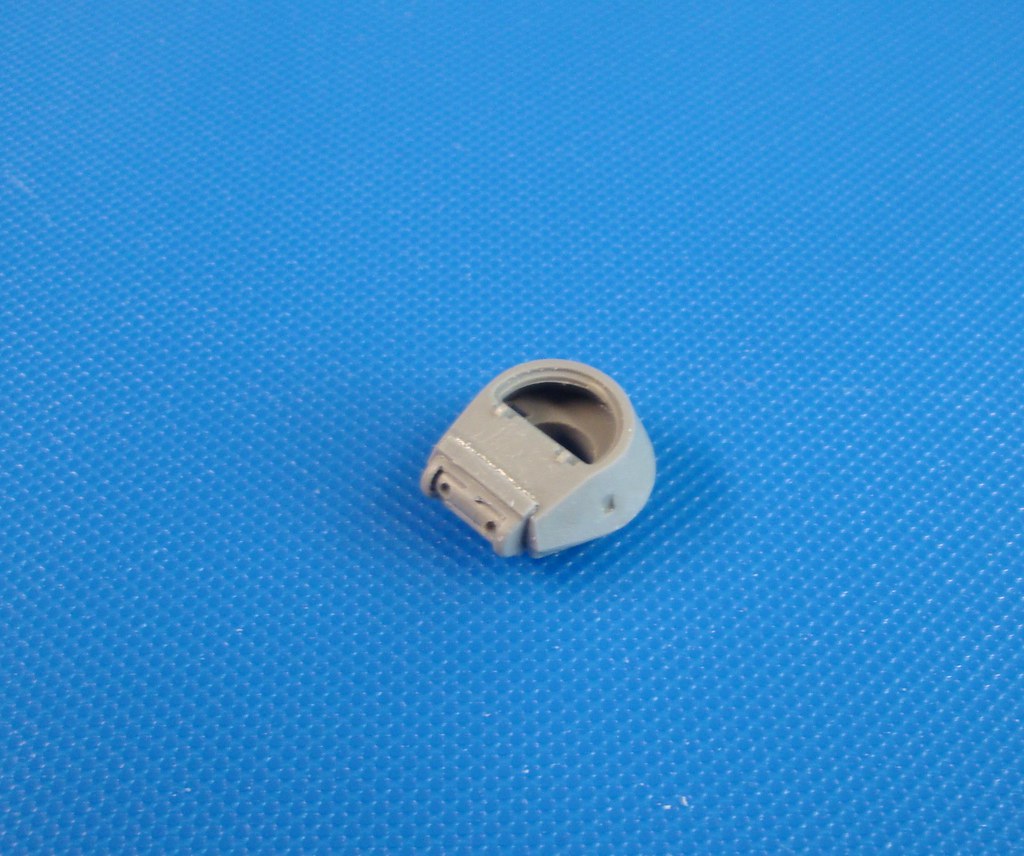
And a small sprue with the upper hull and the turret specific for the Panzer IB.

Image
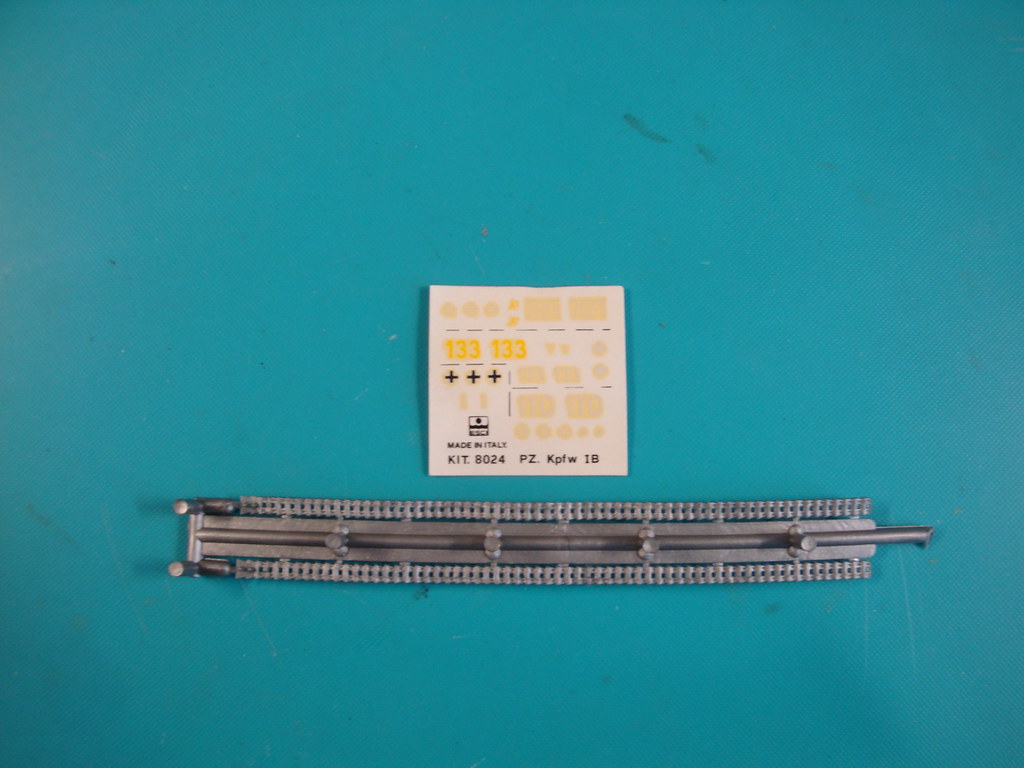
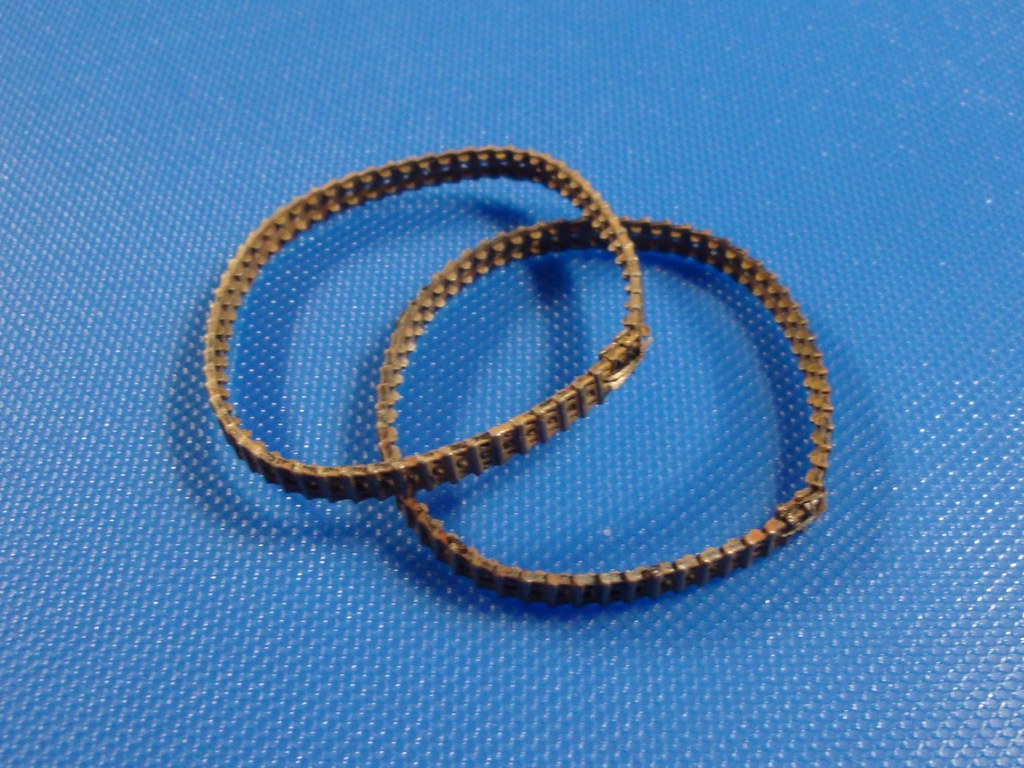
Plastic band tracks and a decalsheet with markings for four different vehicles in different campaigns.
I will make a Panzer IB from the Polish capaign with the grey/brown camouflage and the full white crosses typical for this era.

Let's start!
User avatar
huib  Netherlands
 
Posts: 1014
Member since:
12 Dec 2015, 15:57

Posted by huib on 06 May 2024, 15:05

Building hull and turret
This is a very tiny model. And quality is quite good, as is usual with Esci kits, although most of their kits kits have some issues, this one not exluded. .So the build is developing quickly.

Image
Four parts form the lower hull, the bottom plate sporting a huge Esci logo.

Image
The upper hull has a known issue. The baroque cornering should not be there. The hull is of more simple shape than Esci pretends. So I got out the files and the sanding stiks.

Image
Both parts were filed in the correct shape and made to fit.

Image
With a bit of filler that should be invisible in the end.

Image
I made an air exhaust at the backside of the crew compartment. Esci want me to fix a plate there that I do not see on any reference picture. So I´m steering my own course.

Image
The interior primed in black so I can open some hatches without showing the interior plastic.

Image
Turret assembled.

Image
Tiny, isn´t it? Now on with the small parts and some detailing.
User avatar
huib  Netherlands
 
Posts: 1014
Member since:
12 Dec 2015, 15:57

Posted by MABO on 06 May 2024, 20:04

Looking forward to this next adventure.
User avatar
MABO  Europe
Supporting Member (Gold) Supporting Member (Gold)
 
Posts: 9170
Member since:
12 May 2008, 18:01

Posted by Peter on 07 May 2024, 16:34

I always liked the models of Esci and this one has been on my wishlist for a long time! Really looking forward of what you will make of it! ;-) :thumbup:
User avatar
Peter  Belgium

Moderator Moderator
 
Posts: 22750
Member since:
25 Mar 2008, 18:51

Posted by C M Dodson on 08 May 2024, 13:21

This model brings back memories.

Excellent work to date as always.

Best wishes,

Chris
C M Dodson  United Kingdom
 
Posts: 2673
Member since:
01 May 2015, 18:48

Help keep the forum online!
or become a supporting member

Posted by huib on 09 May 2024, 15:19

Adding detail

Now on with the small parts.

Image
Quite nicely detailed kit this is. The towing cable is a nice addition. I bent it a bit so better follows the laws of gravity. And I added some detail, for example on the inside of the opened hatches.

Image
The standard toolset was partly missing however. So I made some tools myself, like the jack, fire extinguisher, startercranck, etc.

Image
Also the nicely detailed runninggear was put together as far as possible.

Ready for a bit of paint.
User avatar
huib  Netherlands
 
Posts: 1014
Member since:
12 Dec 2015, 15:57

Posted by Peter on 09 May 2024, 20:23

Nice add of details! :yeah:
User avatar
Peter  Belgium

Moderator Moderator
 
Posts: 22750
Member since:
25 Mar 2008, 18:51

Posted by Wiking on 13 May 2024, 15:14

Old boxing with the new grey plastic.
A nice build with several add on parts that improve the whole aged kit so much.

very nice so far I like it.
Hopefully you get the hard plastic tracks and not be forced to use the RUBBER, OMG !
(Poor man)
User avatar
Wiking  Germany
 
Posts: 2834
Member since:
14 Sep 2015, 10:03

Posted by huib on 13 May 2024, 19:53

I´m afraid it will be soft plastic tracks! :drool:

Paint and decals
Things are speeding up. That´s the advantage of tiny kits!.

Image
All subassemblies prepared for the spray booth.

Image
Black primer and light grey preshade.

Image
Panzergrau as a base colour, followed by a chocolate brown camo. All details painted using a brush..

Image
After a gloss cote I placed the decals. The old Esci decals were still fine, although they have tendency to silver a bit. On the turret it was difficult to let the decals snuggle down around the turret hatches. I used a bucket of solvent to reach this result, and it still needs a small touch up.

Image
This is by the way the picture I think Esci based it´s decals upon.

Now on with some weathering.
User avatar
huib  Netherlands
 
Posts: 1014
Member since:
12 Dec 2015, 15:57

Posted by C M Dodson on 14 May 2024, 18:41

These early war vehicles do look very fragile compared to what was operating just a few years later.

Great work .

Best wishes,

Chris
C M Dodson  United Kingdom
 
Posts: 2673
Member since:
01 May 2015, 18:48

Posted by Peter on 17 May 2024, 17:10

I think you are right about that original picture of this nice tank! :thumbup:

Is there any chance that we see you at the FIGZ on June the second?
User avatar
Peter  Belgium

Moderator Moderator
 
Posts: 22750
Member since:
25 Mar 2008, 18:51

Posted by huib on 18 May 2024, 14:54

Weathering
Being busy with washes and drybrushes last few days.

Image
Dust and dirt below the mudguards using thinned down acrylic paint.

Image
A dark pointwash and a midgray drybrush to create more visual depth.

Image
The same treatment for the turret.

Image
The wheels dirty and dusty.

Image
The tracks painted using several shades of brown. Finished with a drybrush of iron colour.

And now for final construction.
User avatar
huib  Netherlands
 
Posts: 1014
Member since:
12 Dec 2015, 15:57

Posted by Peter on 18 May 2024, 23:35

Thank for the tip using what colors for the tracks! ;-) :thumbup:
User avatar
Peter  Belgium

Moderator Moderator
 
Posts: 22750
Member since:
25 Mar 2008, 18:51

Posted by huib on 22 May 2024, 18:59

Final assembly
Now only to connect the subassemblies with each other..

Image
The roadwheels glued. The drivewheels remain seperate, otherwise I can´t get the tracks between the drivewheels and the mudguards.

Image
The track ends are melted together, and were also tied together using sewing thread for extra strength.

Image
OMG! These tracks are too short and hardly elastic. Immediately both idler wheels broke off. So I had to reinforce them with 0,7mm iron wire axles.

Image
In the end I managed to position the tracks with a lot of force. There is quite a lot of tension on them!

Image
In the proces I broke the headlight on the glacis plat. So that has to be reinstalled.

Image
Herr Panzerführer is assembled. I filed his peaked cap into the early war beret style German tank helmet.

Image
Painted

Image
Finished! Final pictures soon.
User avatar
huib  Netherlands
 
Posts: 1014
Member since:
12 Dec 2015, 15:57

Posted by huib on 26 May 2024, 16:11

Image
Look here for the Final Pictures
User avatar
huib  Netherlands
 
Posts: 1014
Member since:
12 Dec 2015, 15:57

Help keep the forum online!
or become a supporting member

Posted by Peter on 07 Jun 2024, 18:20

Very nice step by step again! Thanks for sharing Huib!
User avatar
Peter  Belgium

Moderator Moderator
 
Posts: 22750
Member since:
25 Mar 2008, 18:51


Return to Work in Progress