Gallery

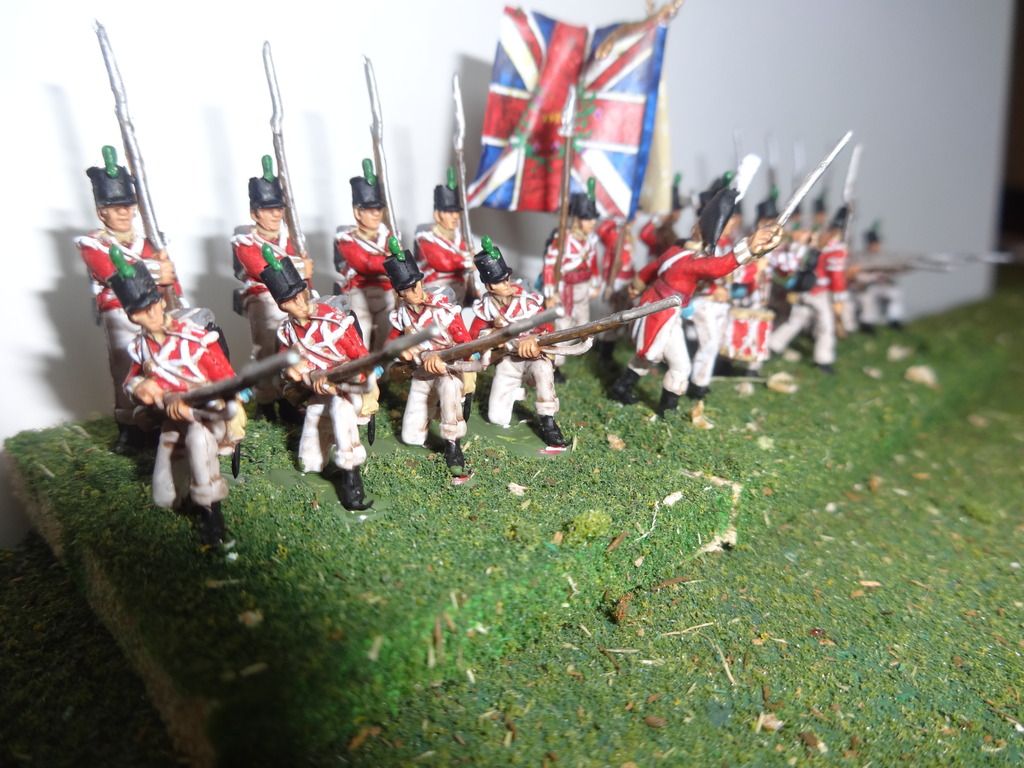
HAT Peninsular British Inf. - 52nd Light Inf.

Posted by davbenbak1 on 29 Apr 2016, 16:10

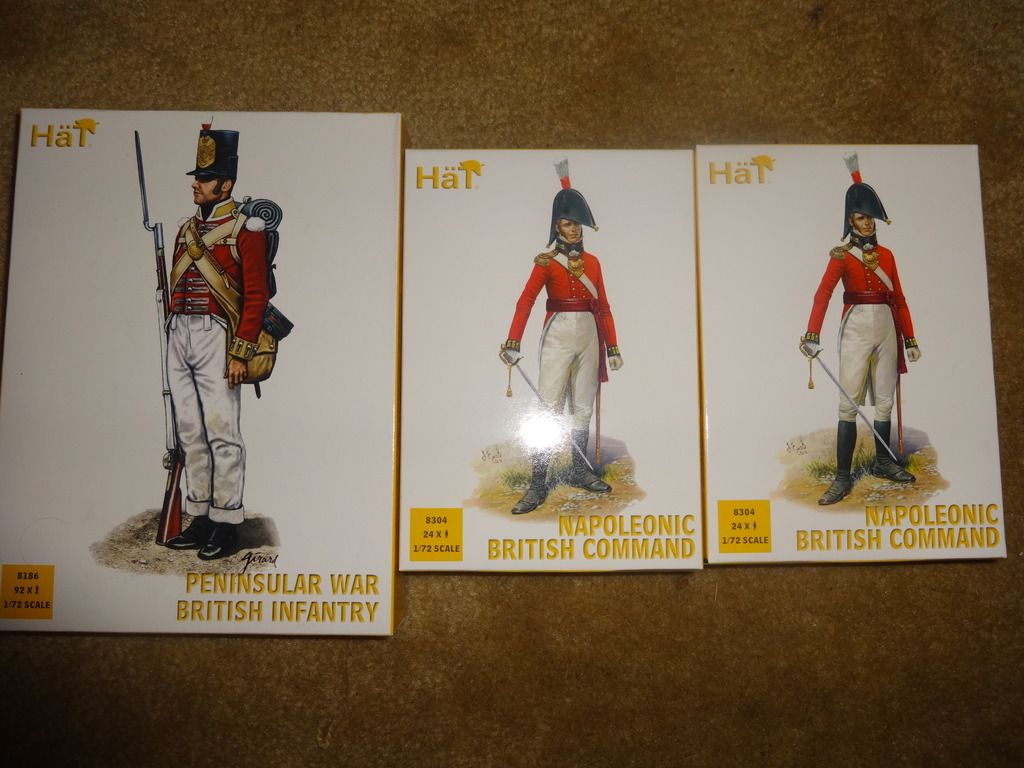
I'll be using these boxes to make a couple of units.

Image

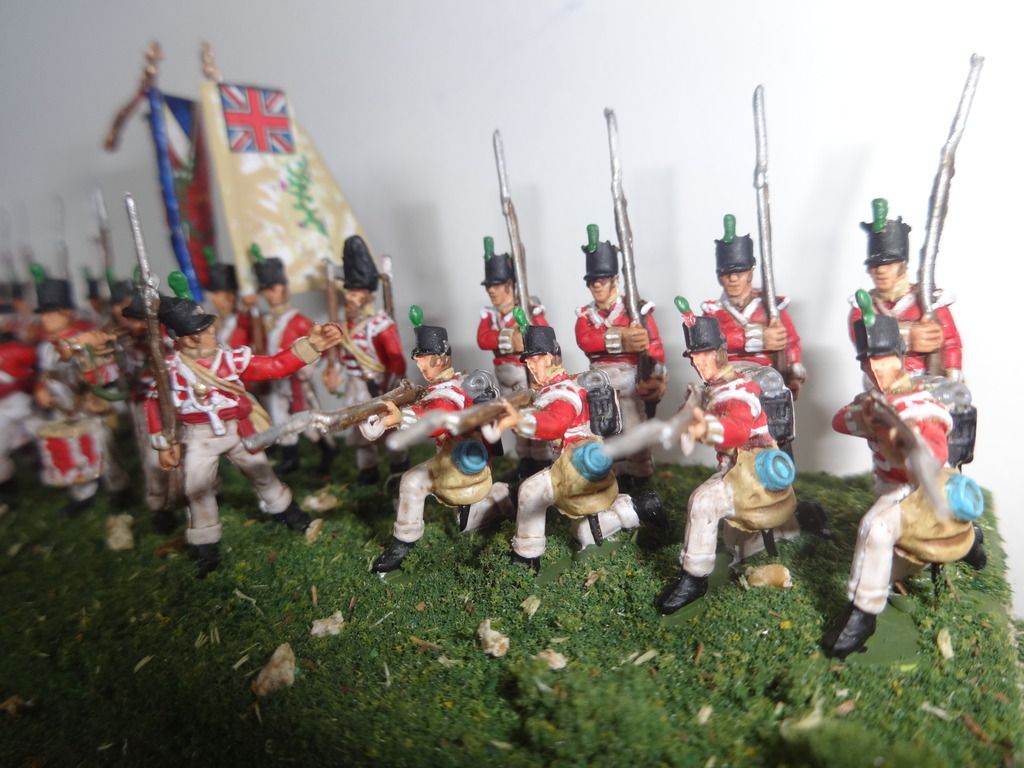
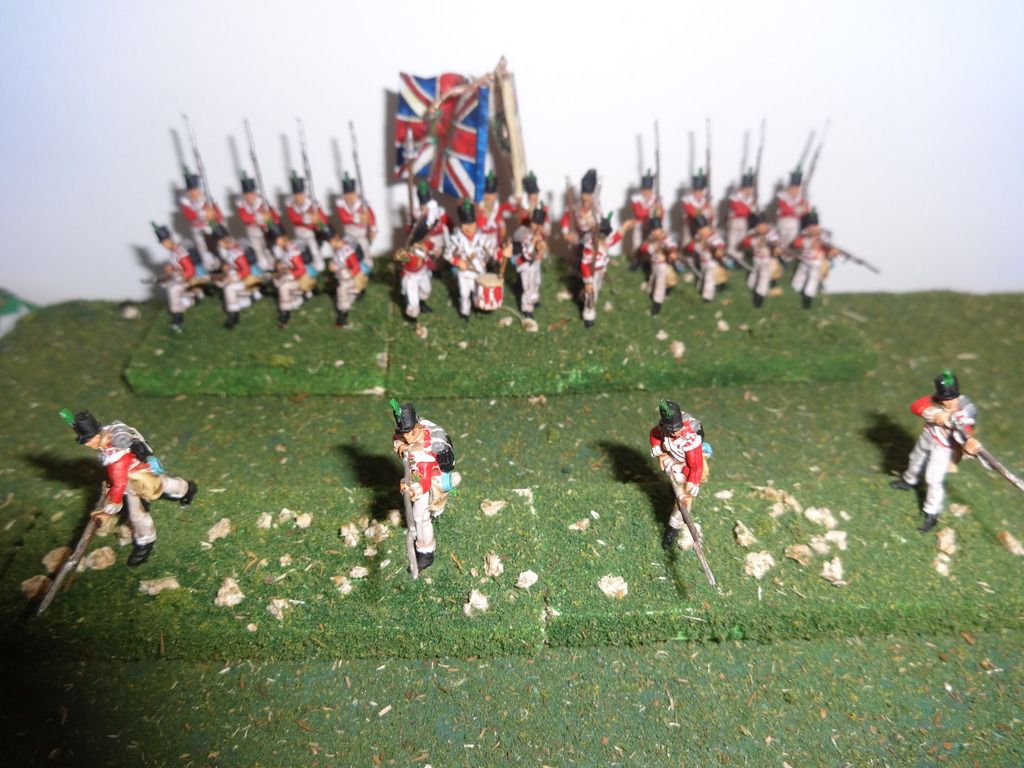
Here is the first, painted as the 52nd Light Infantry.
Image
Image
Image

These are great figures and you can see what an average painter can get these to look like after only a few days of work. I would love to see what some of the masters on this site could do with this set.

Regrets...I've had a few. I did not spend much time at all trimming mold lines from these figures. They are made from a rubbery type of plastic and attempts with an X-Acto knife only left stubble and sometime cut into the detail. Next time I will try a hot needle. I printed the flags from the Warflags site and should have reduced the image just a bit more though I did go over them with paint for better blending and to cover where the edges meet. Strangely and for some reason, I did them separately so I did not get the folds to match as if the wind would be coming from the same direction. I usually bend them over brush handles side by side while the Elmer's (white glue) is still wet on the paper so the folds are dried in.

These are for wargaming and are meant to be seen "en masse" on the table with 20 other units. Perhaps a mistake to take pictures so close but I wanted viewers to see, not my results, but the potential these figures have. I did not try to paint the bugle badge on the cap but for those purists separate heads are provided for head swaps. Hopefully the green plume and swallow wings on the shoulders will be enough for players to denote them as British light infantry. Also it is my understanding that ensigns in the light infantry wore shako's. For my line units they will be wearing the included bicorn hats.
davbenbak1  United States of America
 
Posts: 332
Member since:
13 Nov 2014, 15:53


Posted by Kekso on 29 Apr 2016, 16:15

One simply must like those lovely painted figures. Although, mould lines are poking my eyes :eh:
Maybe I can recommend surgical knife No.11. Blades get dull quickly (1 set = 1 blade) but I had good results on rubbery HaT figures and they're cheap.
User avatar
Kekso  Croatia

Moderator Moderator
Supporting Member (Bronze) Supporting Member (Bronze)
 
Posts: 6883
Member since:
19 Oct 2011, 18:32

Posted by vellek on 29 Apr 2016, 16:50

Kekso wrote:Maybe I can recommend surgical knife No.11. Blades get dull quickly (1 set = 1 blade) but I had good results on rubbery HaT figures and they're cheap.


If I has access to a surgical knife No. 11 I'd probably only have parts of 8 fingers left :-D . That plastic can truly be a huge PIA, but I've found it's easier and cleaner to trim the figures if they're given a primer coat first.
User avatar
vellek  United States of America
Supporting Member (Silver) Supporting Member (Silver)
 
Posts: 1437
Member since:
20 Jan 2011, 19:31

Posted by Peter on 29 Apr 2016, 16:57

Dave don't be to hard on yourself. In my eyes you did a great job and they will look good on the gaming table where you painted them for.

Kurt is right about the priming and then removing the mould lines. It works better indeed. And for the hard parts you can always use a hot needle. It smells a bit but when it helps.... ;-)
User avatar
Peter  Belgium

Moderator Moderator
 
Posts: 22750
Member since:
25 Mar 2008, 18:51


Return to Gallery