Gallery

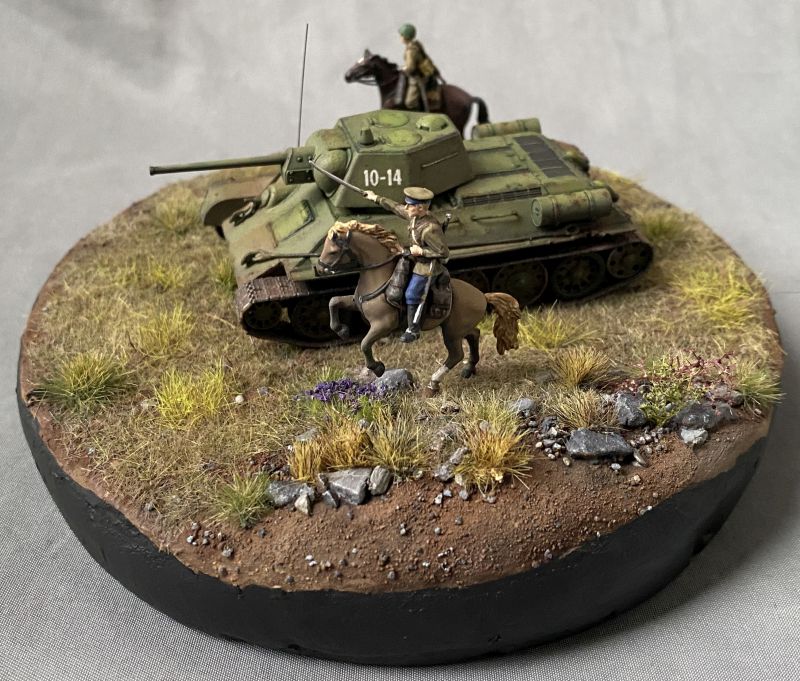
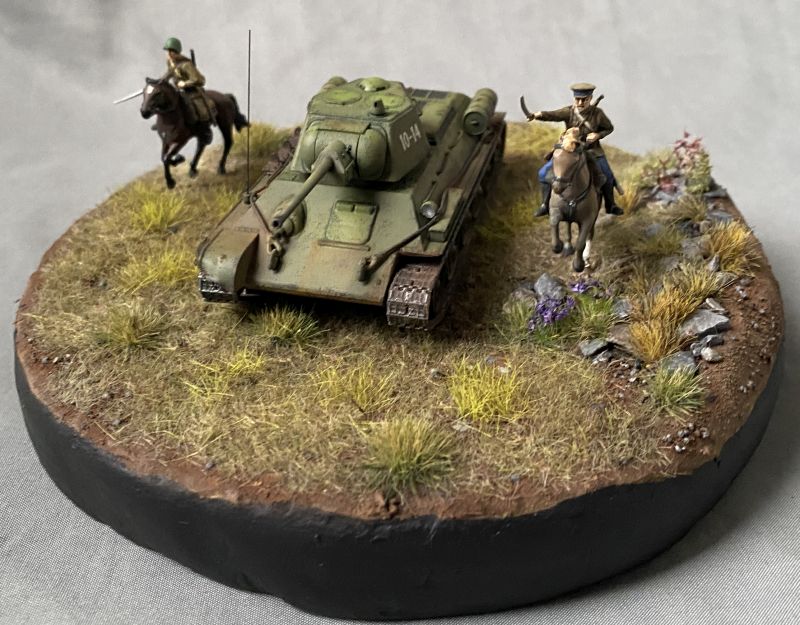
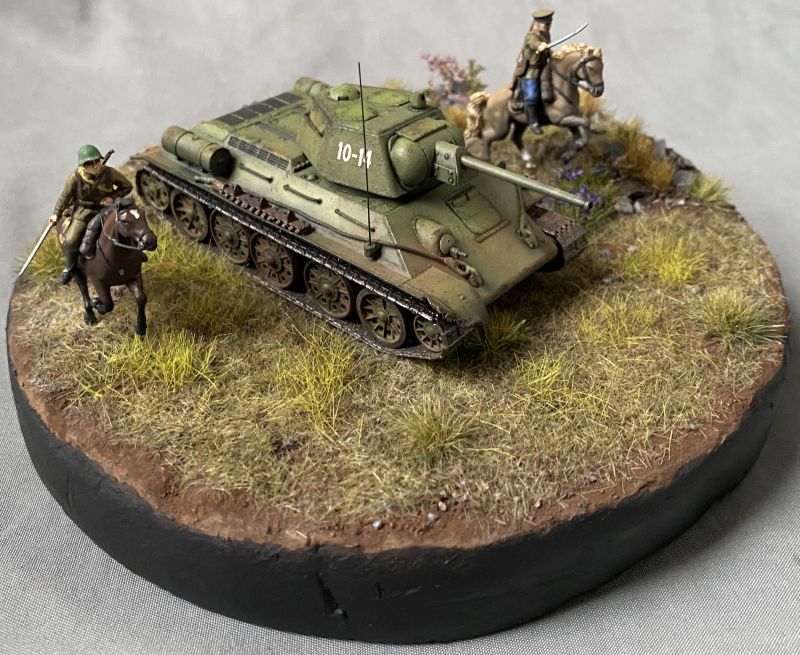
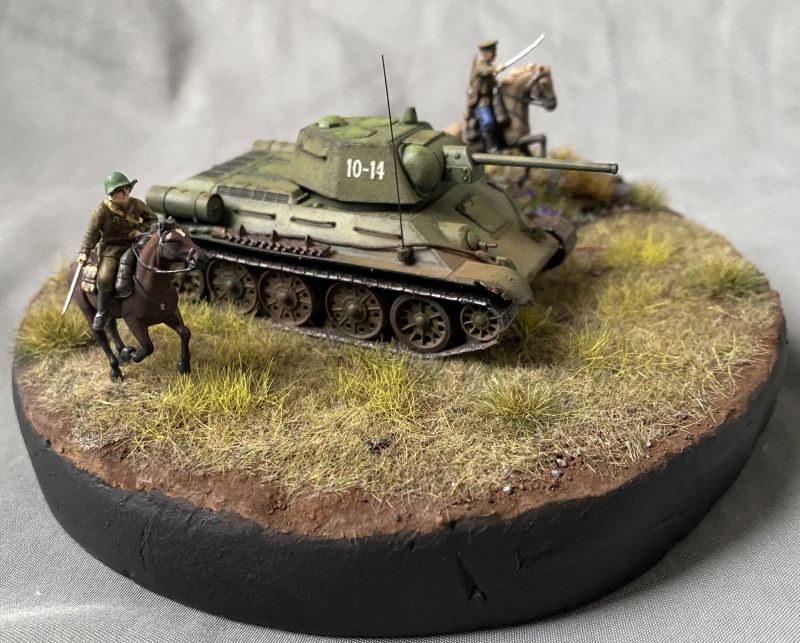
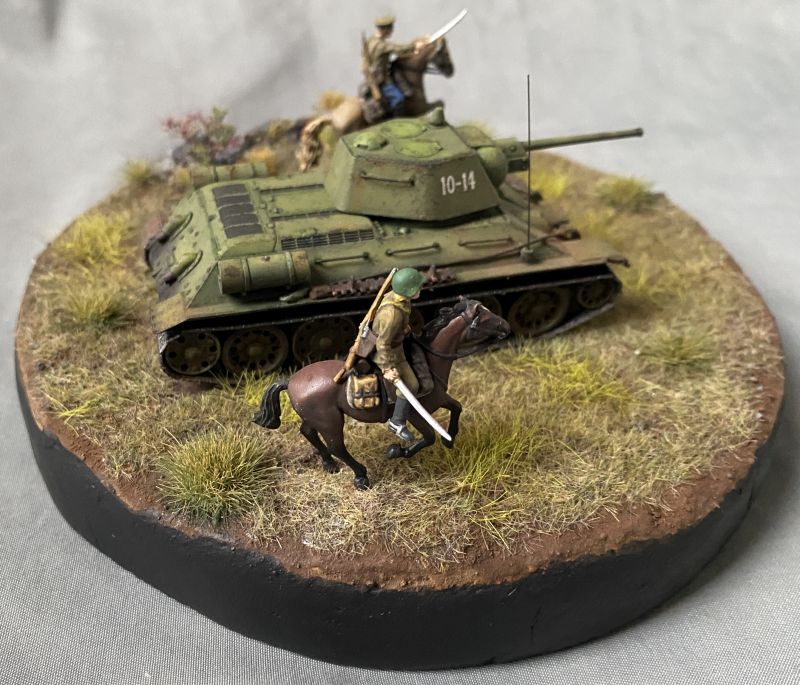
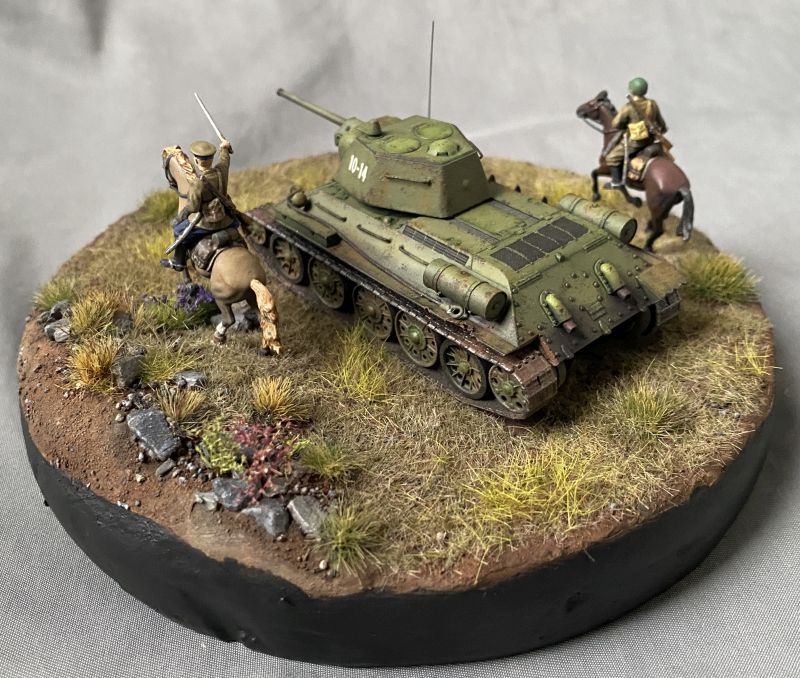
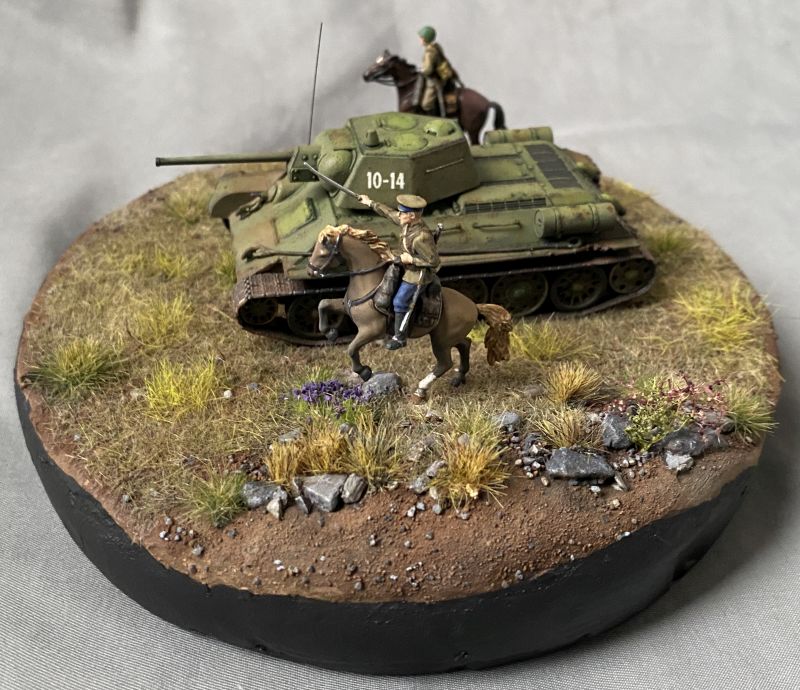
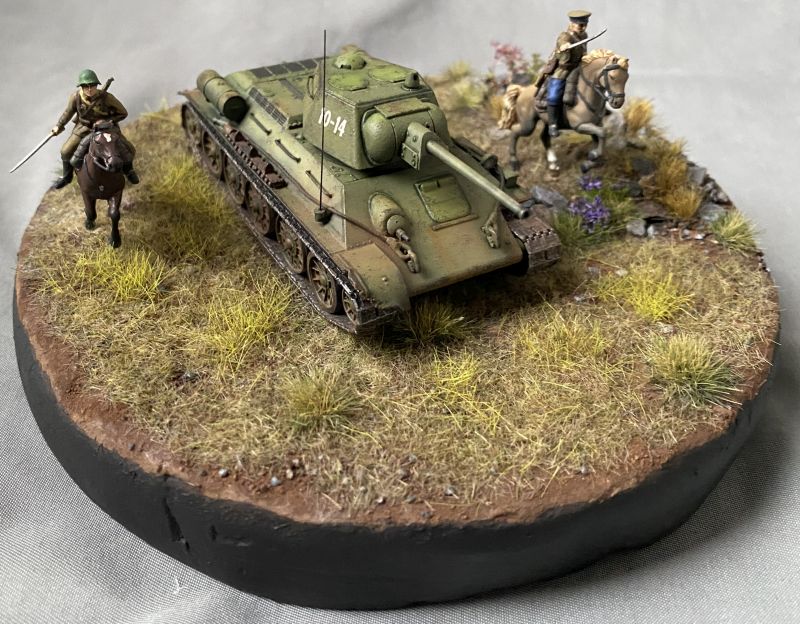
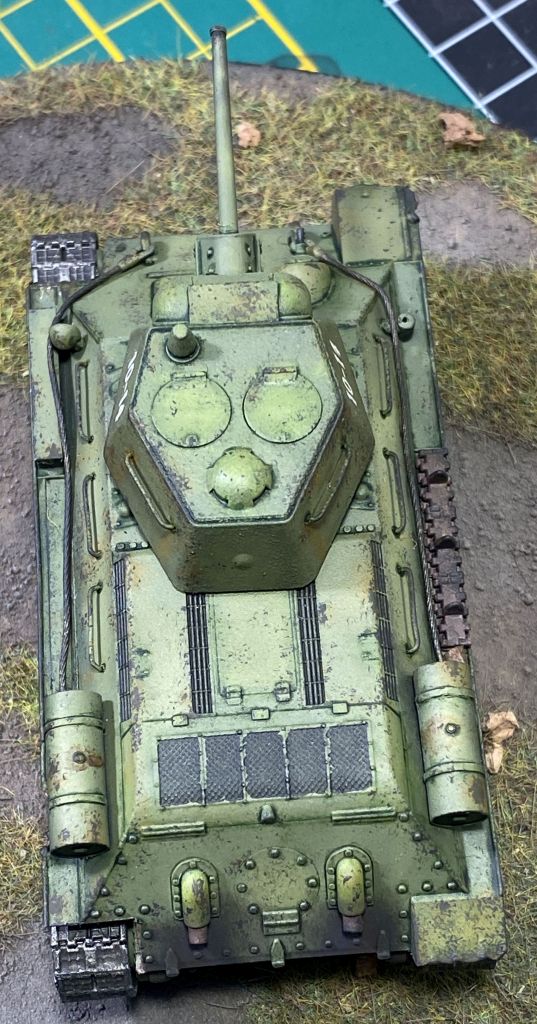
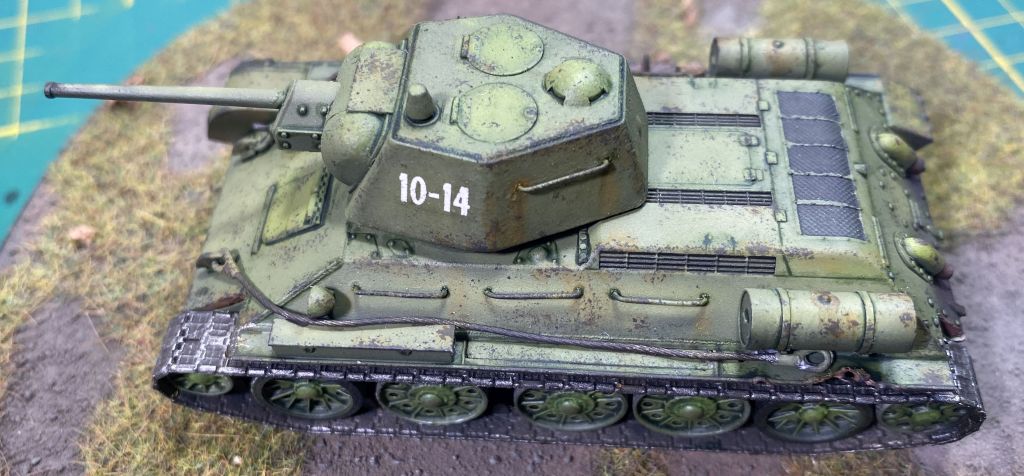
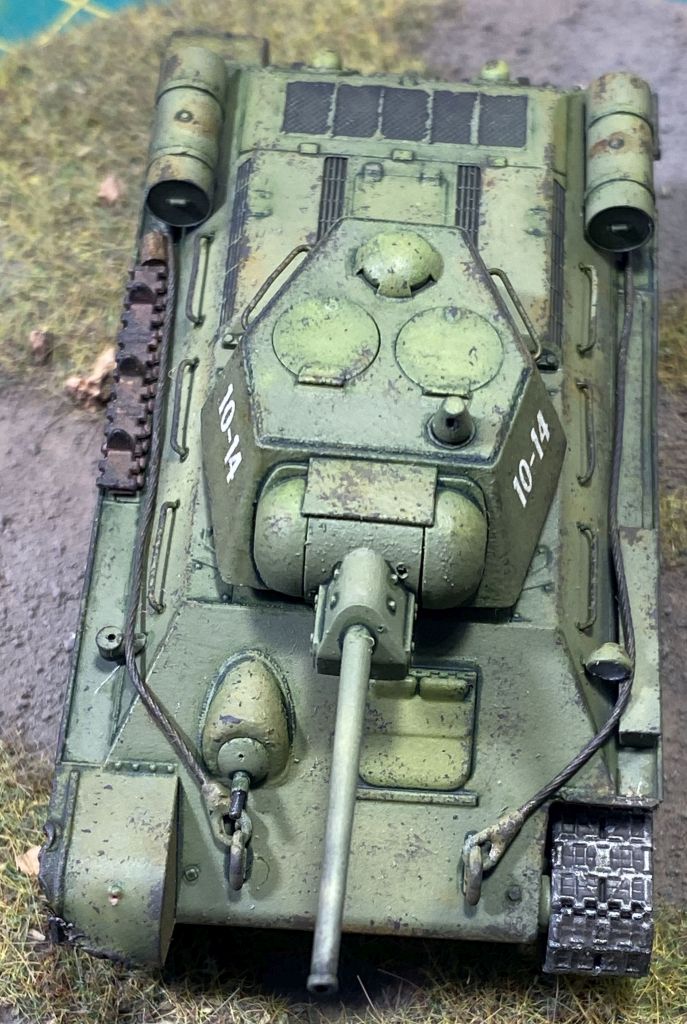
T-34 with cavalry in 1/72

Posted by agrippa on 11 Jan 2023, 11:31

Hello,
here is my second creation 
This time no air force but attacking cavalry.

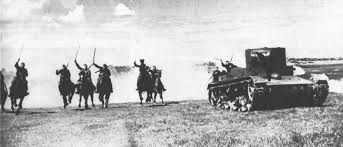
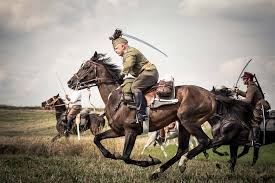
If you have historical pictures I would be very interested. Basically, I've found very, very few where cavalry and tanks can be seen in action together. One served as inspiration:

Image


Image
Image
Image
Image
Image
Image
Image
Image
Image
agrippa  Germany
 
Posts: 22
Member since:
10 Oct 2022, 07:56


Posted by Kekso on 11 Jan 2023, 13:05

Really cool work regarding quality and esthetics.
But that tank looks a bit small comparing to horses and raiders.
I don't know much about this period so I could be wrong.
User avatar
Kekso  Croatia

Moderator Moderator
Supporting Member (Bronze) Supporting Member (Bronze)
 
Posts: 6883
Member since:
19 Oct 2011, 18:32

Posted by C M Dodson on 11 Jan 2023, 14:59

Very nice and also unusual.

I looked at some pictures of this vehicle and the deck is about the height of a man.

Depending on the horse size ( in hands) then all seems to be in proportion, so perhaps there is an optical effect here?

Lovely composition, painting and ground work.

Excellent work in my opinion.

Best wishes,

Chris .
C M Dodson  United Kingdom
 
Posts: 2673
Member since:
01 May 2015, 18:48

Posted by Minuteman on 11 Jan 2023, 17:19

A very nice display, well executed and with very good groundwork. And also a slightly unusual subject since, despite various Soviet propaganda photos, I believe that cavalry operating alongside tanks was something of a rarity even on the Eastern Front...although no doubt it did happen from time to time. Interestingly, of the photos I have seen on this subject, Russian cavalry and Cossacks are more often than not depicted alongside British (Valentine) or US (Sherman) tanks supplied under Lend-Lease.

Regarding scale, to my eye I don't think the tank looks noticeably too small. T34 standard height was 2.46 metres (just over 8 feet). As a comparison, although not perfect, here is a photo of German cavalry alongside a captured T26 (height 2.24 metres (7 feet, 4 inches).

Image
User avatar
Minuteman  United Kingdom
 
Posts: 1140
Member since:
06 Mar 2020, 21:38

Posted by agrippa on 11 Jan 2023, 18:51

Thank you very much, the size of the figures and the tank are quite good. I thought so too and measured it with a caliper.
The display came about by accident. I have built a Tiger 1 and have never done anything with rust.I didn't want to ruin it :yeah:
So I took one of Zveszda's Snapkits out of the closet as a test object. "Unfortunately" I liked it so much that it got a display. The riders were also in the cupboard and since there are only two you can't do much with them anyway.
A few pictures of the build:

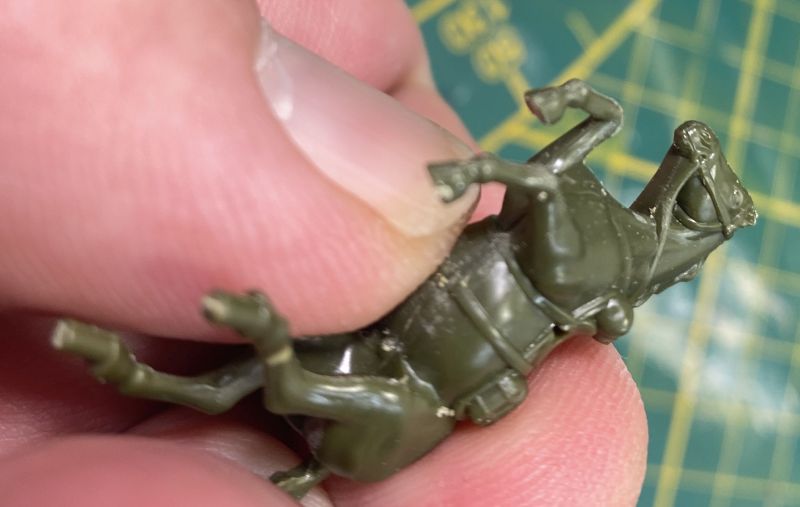
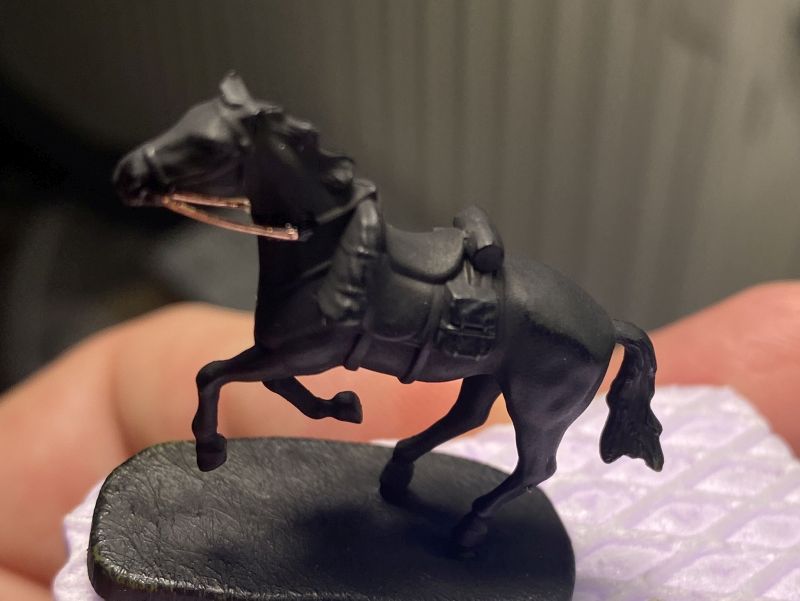
my first horses:
Image
Image
Image
Image

the rust for which I built the model :-D
Image
Image
Image
Image
agrippa  Germany
 
Posts: 22
Member since:
10 Oct 2022, 07:56

Posted by Bendy_Straw on 11 Jan 2023, 19:01

Could you make a small "tutorial"-guide on how you did the basing? I'd be very interested since my bases lack variety.
Bendy_Straw  Greece
 
Posts: 98
Member since:
05 Dec 2020, 13:59

Help keep the forum online!
or become a supporting member

Posted by Rich W on 11 Jan 2023, 23:56

This is a perfect little diorama. Wonderfully painted models and the groundwork is very realistic. I'd also like to see how you did the basing.
Rich W  United Kingdom
 
Posts: 1335
Member since:
05 Feb 2018, 23:40

Posted by agrippa on 13 Jan 2023, 10:21

ok if you want This is not a tutorial because this is only my second base. So I'm just writing here how I did it.
My first:
viewtopic.php?f=2&t=26000&p=287274#p287274

Excuse my bad english here.
Unfortunately I don't have any pictures of the beginning of the base. It started with a Styrodur board (rigid foam?) that I cut in a circle....it didn't turn out well.
For the first base, I applied the soil directly to the hard foam because airfields are mostly flat. This time I wanted to have a small hill. I decided to use my son's (10) modeling clay for teh complete base.
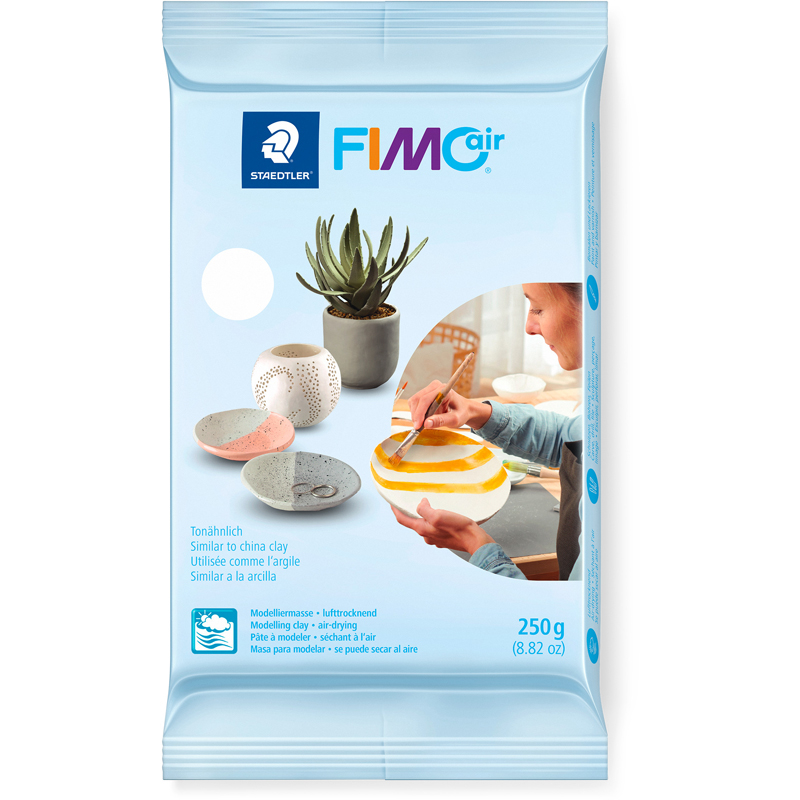
Image

Large stones have already been used. It dries within 24 hours. After drying I used a mixture of wood glue(?), distilled water and very fine soil from my garden. The location of the vehicle is taped.
Image

Let it all dry very well.
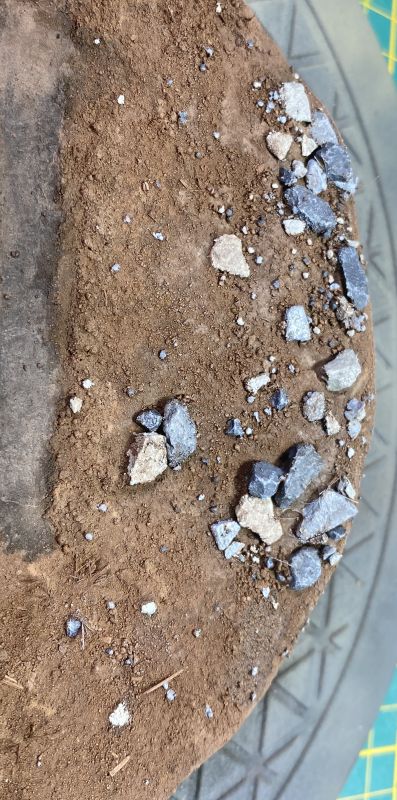
Next I wanted to give structure to the floor. For this purpose, a mixture of distilled water (because of the surface tension of the water) and wood glue was applied with a spray bottle and coarser soil from the garden was scattered on the base.
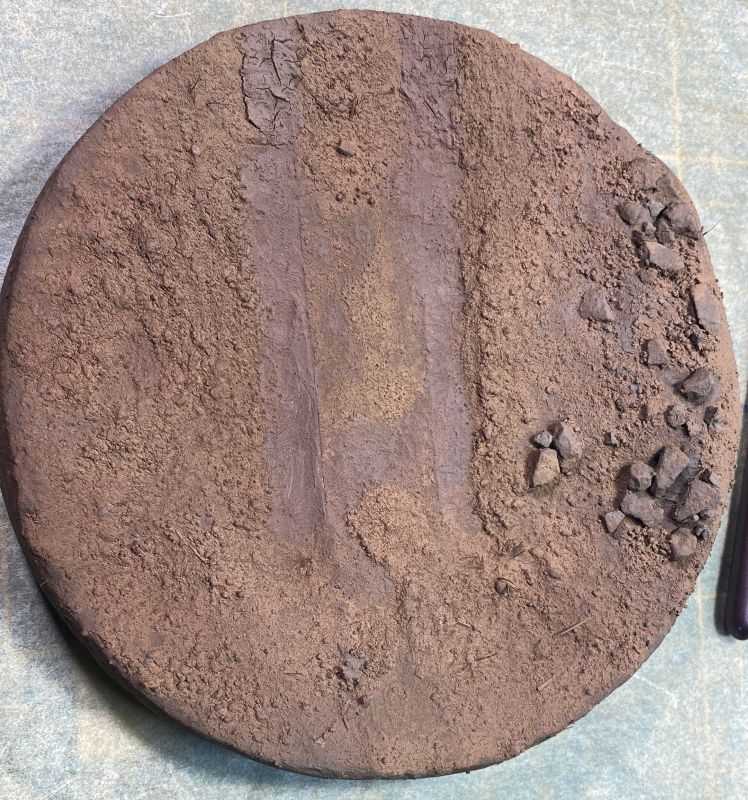
Image

Now each stone is painted with a brush in different shades of gray. This is a meditative work to relax. The stones were also dry brushed with white.
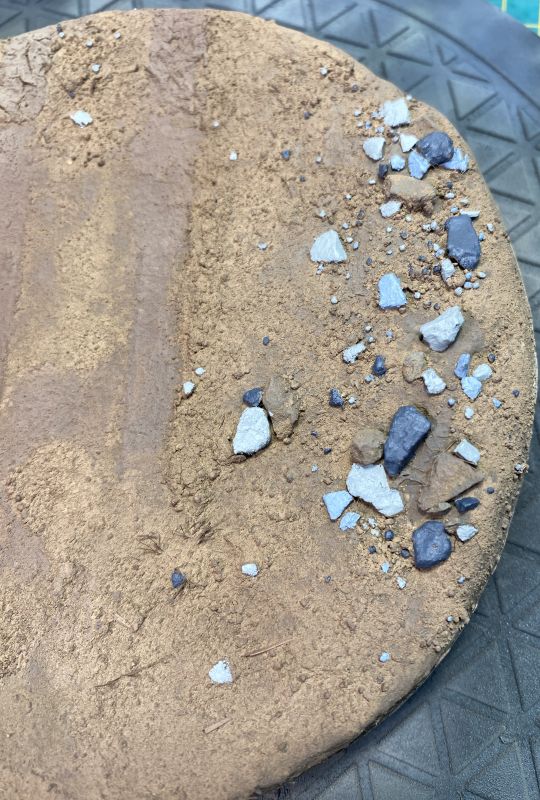
Image
Image

When that's done, the entire base is covered with a dark brown and very thin wash of acrylic paint (any one will do). The stones were pinwashed with black wash to better show the shadows and to emphasize the structure.
The first plants were planted after drying. The green bushes were weathered a bit(!) with the airbrush and Tamiya "Buff".
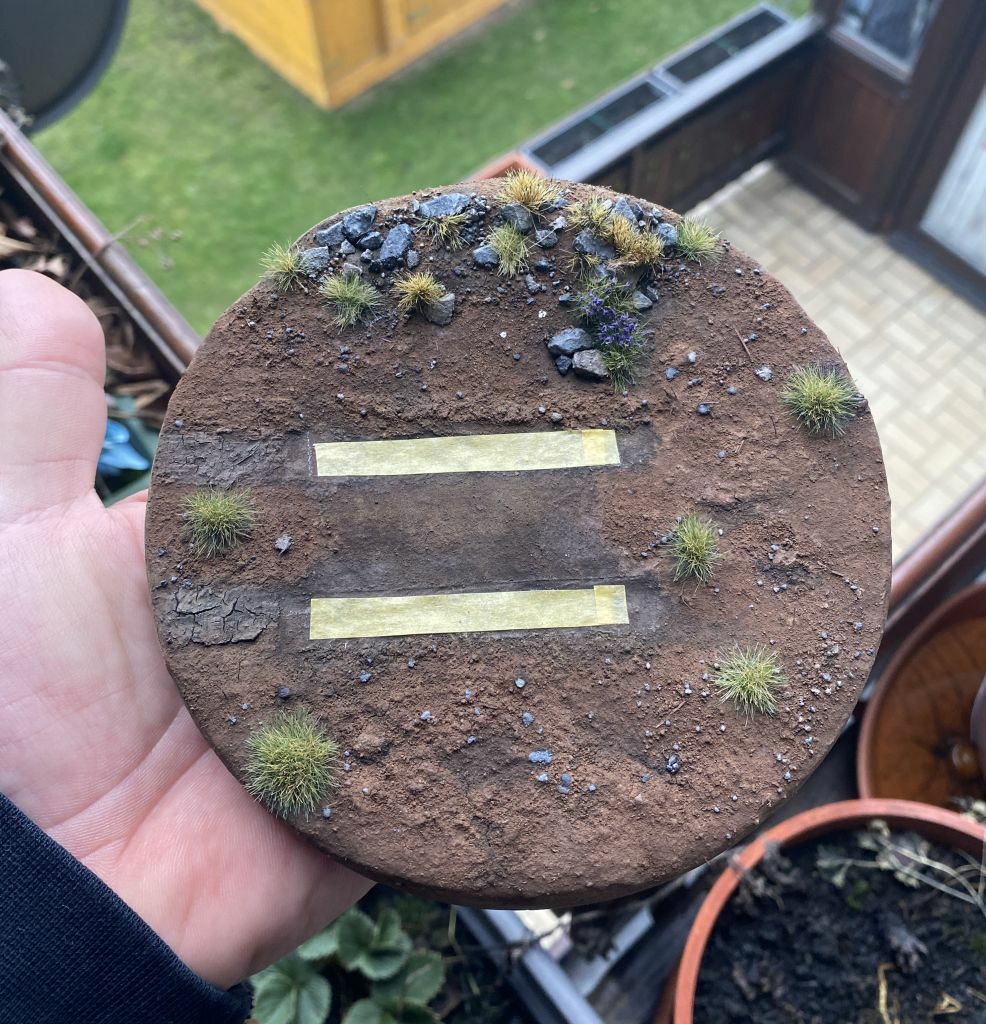
Image


home straight!
Now comes "only" the grass….that wasn't so easy with this base. On the pictures you can see that the Russian steppe(?) is boring to the eye. The hill was created against desolation.
Image
Image
Image
Image
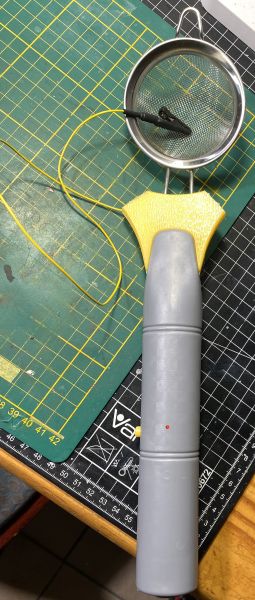
I then decided to spread the short (2mm) grass by hand and to do the long (6mm) with a selfmade grasser(?) as a kind of bush. I have decided to suck up a lot of grass with the vacuum cleaner. If you take a nylon stocking you can use the grass again.
I'm not really happy with it either.
Image


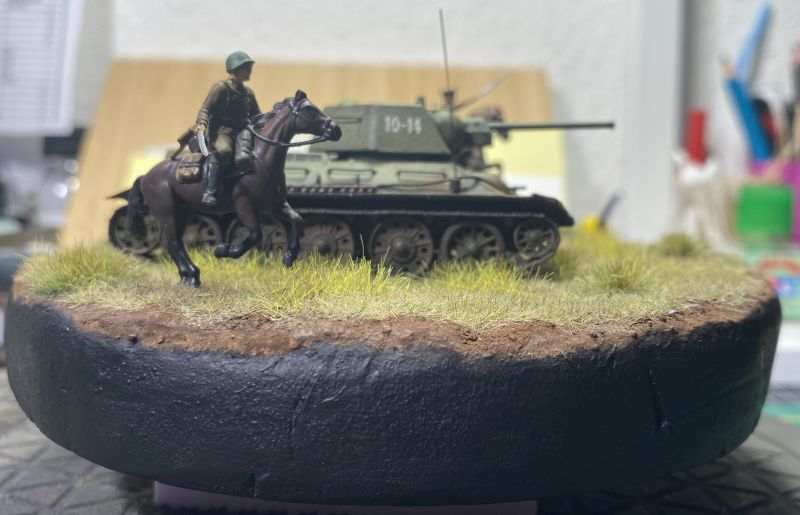
now just paint the base with cheap black paint,
DONE!
Image

This should really not be a guide because I lack any experience for a tutorial. This only show my way. If you have solutions that work better please write it.
Thank you!
agrippa  Germany
 
Posts: 22
Member since:
10 Oct 2022, 07:56

Posted by Bluefalchion on 13 Jan 2023, 16:15

Nope, I disagree. What you just posted was a genuine tutorial, and an excellent one, at that. Thanks very much!
User avatar
Bluefalchion  United States of America
 
Posts: 3575
Member since:
23 Dec 2010, 07:57

Posted by Bendy_Straw on 14 Jan 2023, 09:15

Yup, this was really helpful and I will try to implement your work on my own basing when I get the chance. Thank you.
Bendy_Straw  Greece
 
Posts: 98
Member since:
05 Dec 2020, 13:59

Posted by Rich W on 15 Jan 2023, 02:33

Perfect. And it explains why the base looks so natural-because you've used actual soil!
Rich W  United Kingdom
 
Posts: 1335
Member since:
05 Feb 2018, 23:40

Posted by Kekso on 15 Jan 2023, 13:59

Bluefalchion wrote:Nope, I disagree. What you just posted was a genuine tutorial, and an excellent one much!


I agree. Thanks for the tutorial.
User avatar
Kekso  Croatia

Moderator Moderator
Supporting Member (Bronze) Supporting Member (Bronze)
 
Posts: 6883
Member since:
19 Oct 2011, 18:32

Posted by sansovino on 15 Jan 2023, 14:42

A wonderful theme and vignette. I like this strange combination of horses and tanks - quite romantic besides the horror of wars. And many thanks for your good tutorial.
sansovino  Germany
 
Posts: 794
Member since:
27 Mar 2014, 21:42

Posted by Peter on 24 Jan 2023, 13:51

Looks real great and also thank you for "the making off.." post! I really like it! :thumbup:
User avatar
Peter  Belgium

Moderator Moderator
 
Posts: 22750
Member since:
25 Mar 2008, 18:51

Posted by Bill Slavin on 24 Jan 2023, 14:58

I completely agree with all of the others. A very finely executed diorama but your tutorial was equally as interesting and, I thought, very well explained. The home made grasser has me intrigued - I need to figure out what is going on there, but I'm imagining it has to do with some electric static and the strainer used to cause the grass to attach vertically? :eh:
Love to see how people create things - too often we only see the results of their long hours of work, not the process.
User avatar
Bill Slavin  Canada

Supporting Member (Bronze) Supporting Member (Bronze)
 
Posts: 1338
Member since:
24 Oct 2016, 14:55

Posted by agrippa on 25 Jan 2023, 08:29

Thank you for liking it.
The grasser is an electronic fly swatter and a metal tea strainer
agrippa  Germany
 
Posts: 22
Member since:
10 Oct 2022, 07:56

Help keep the forum online!
or become a supporting member

Posted by JurgenH on 25 Jan 2023, 19:18

Hi Bill. ihave a Link for you.Sorry it isgerman but with good pictures to help understand.
Greeting Jürgen
JurgenH  Germany
 
Posts: 190
Member since:
01 Aug 2022, 20:28

Posted by JurgenH on 25 Jan 2023, 19:19

JurgenH  Germany
 
Posts: 190
Member since:
01 Aug 2022, 20:28

Posted by Bendy_Straw on 27 Jan 2023, 23:39

Where did you buy the short grass from and what shade of green is it? Light green I assume.
Bendy_Straw  Greece
 
Posts: 98
Member since:
05 Dec 2020, 13:59

Posted by k.b. on 28 Jan 2023, 02:40

Terrific little diorama agrippa. I love everything about it - tanks and cavalry, thankfully, (for the cavalry), here as allies and not enemies.
Didn’t feel there was much of an issue with the size of the tank and I loved the basing tutorial. Perhaps it might have been interesting to completely squash the tuft and flatten the grass behind the tank to show what happened when tanks were driven over grassland.
Look forward to seeing more of your work. Well done indeed.
k.b.  Brazil
Bronze Brush winner
 
Posts: 1136
Member since:
04 Apr 2010, 03:50

Next page

Return to Gallery